How and Where to Store your Photos?
Updated: January 30, 2024 Author: Vitaly
In this article we will look at various options for storing photos, their advantages and disadvantages. You'll learn how to secure your family archive, how you can easily catalog hundreds of thousands of photographs, and even build family connections that make viewing archival photos more interactive and interesting.

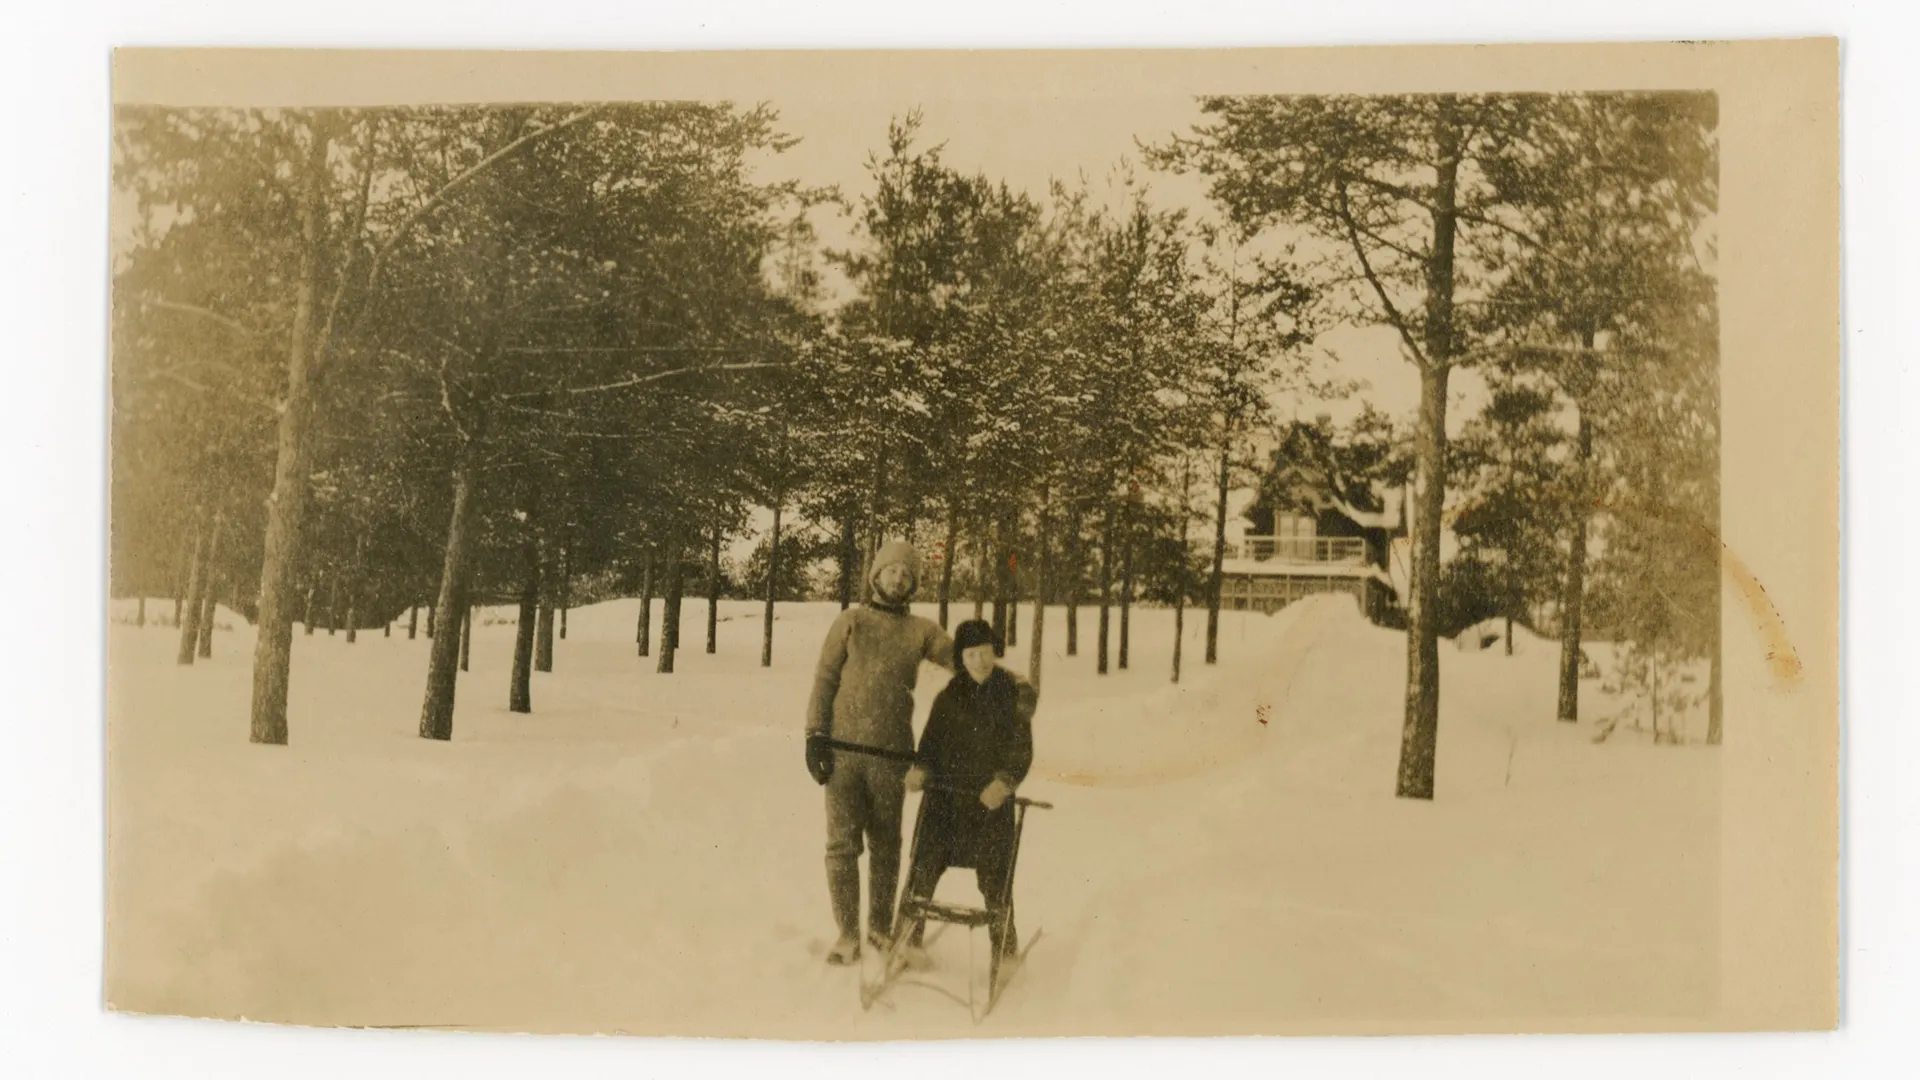
Photography is an art that helps us remember our emotions at the time of shooting. This could be your graduation, celebrating the birthday of a loved one or relative, or the birth of a child. The loss of a photo archive that has been collected for decades is like losing a piece of your past self. To prevent this, you should take care in advance about the safety of all photographs. It doesn't matter if they were printed on paper or if you took them with your phone or digital camera.
It is worth noting that with the advent of the ability to take high-quality photos on a phone, the problem of saving images has worsened. Whereas in the past most people only photographed special events, now anyone can take a beautiful photo just by walking down the street.
How to save old paper photos?
The first consumer digital cameras appeared in the early 90s of the 20th century, but they began to be used en masse only ten years later, when the cost of it became not so high. Therefore, most families still have photographs taken on film and printed on photographic paper. And the older these photographs are, the more valuable they are to us.
The disadvantage of old paper photographs is that they inevitably degrade. Not only the cellulose base is subject to destruction, but also the image itself. A prime example of this is framed photographs that have been exposed to sunlight for a long time.
In addition, the paper photograph is gradually damaged physically by constant viewing. It often happens that photographs of grandparents are shown to young children who do not yet understand how to handle such things, and they accidentally tear the photo card.
The only reliable way to save old family photos for centuries is to digitize them using a scanner. If there are 1, 2, 5 or 10 such pictures, there will be no difficulties with scanning and obtaining digital photographs. To complete this task, you can use a regular consumer scanner or your smartphone camera if you don't have a scanner. To perform this task, Google even offers a separate mobile application - PhotoScan.
The program differs in that it has a built-in algorithm for automatic image correction. You will immediately receive digitized and optimized images. True, there is no way to edit metadata, where you can immediately enter the correct date, or additional details about the photo, or other information.
The family photo conservation project can not be considered completed until you save all known information about these photographs into a photo archive. Be sure to read the back of the photos where some missing information can be written, such as the year and location of the shooting. In group photos you can often find captions indicating who is shown on the photo card. Some information can be gleaned from indirect evidence, for example, if a photo is in the same album with others signed, then perhaps it was taken together with them. Also, be sure to ask your family about these photos while you have the opportunity.
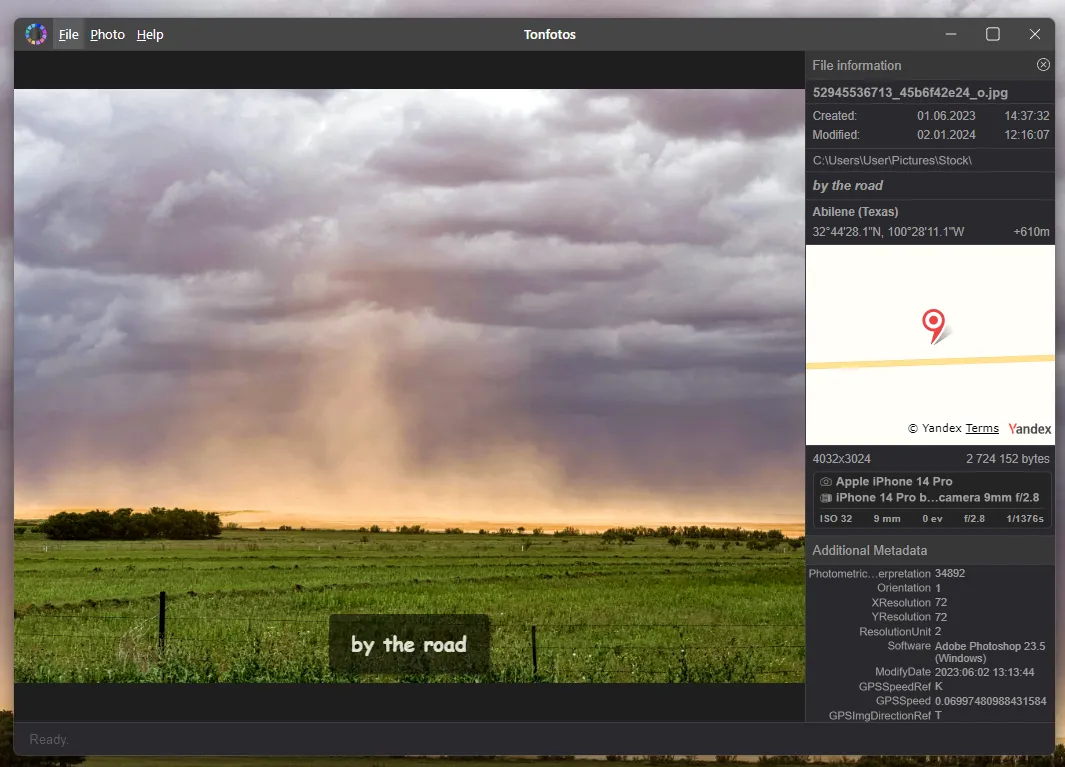
But what's the best way to store the information you receive along with your photos? This can be done in several ways: from simple sorting into folders with self-explanatory names to entering dates, coordinates and comments into photo metadata, as well as tagging people in the photo using special software. For example, Tonfotos has all the necessary functionality for this. In addition, the program can recognize faces and find them in other photographs. This function will be especially useful for building family ties.
Where to store photos taken on your phone?
Taking photos with your phone is convenient, the camera is always at hand, you can quickly capture anything: from a beautiful butterfly to meetings with friends. However, it is highly advisable to store the entire archive accumulated on the smartphone not only in the device’s memory. This is dangerous because the phone may break down, get lost, or photos may be accidentally deleted. And, unfortunately, it will be impossible to restore unique moments.
The best option is to periodically upload all images to a third-party storage device. This could be your computer or cloud storage. In most modern phones, the latter option is already provided by default. For Android users, this is Google Drive and a special service for photos, Google Photo, and for iPhone owners, iCloud and Photos.
Due to its simplicity, cloud storage is the most obvious solution, which eliminates the need to periodically connect the gadget to the computer to move all files to an SSD or HDD. However, when using such services, you need to consider the following nuances:
- You have to pay for the volume. Typically the volume that such services offer is not enough to upload all your photos from your phone. Besides, except for pictures taken on your phone, you should fit in photos from your digital camera or digitized photo cards so that everything is in one place
- Safety. Although most cloud storage services use modern security methods to protect user data, there is always a risk of hacking or data leakage. And the service itself is not necessarily to blame for this. The source could be, for example, password manager.
- Service provider dependency. If the user decides to stop using cloud storage or change service provider, he/she will first need to upload all photos to some kind of device. It is required to have enough free space on the HDD or SSD to perform online backup if necessary.
Copying photos to your local archive requires some work, but you gain confidence that you can turn on your laptop or connect an external drive at any time and gain access. In addition, the process of periodically uploading photographs from the phone won't take much time.
Storing digital photos on physical media
If you have decided to stop using the cloud, then the question of choosing a medium for storing photo archives becomes relevant. The main criterion here is reliability, so we don’t even consider ordinary USB flash drives, which can quickly fail, as well as easily lost MMC and SD cards. Only HDD and SSD drives are relevant. Let's look at the features of each type and options for connecting them.
Options for connecting physical drives to a computer or laptop
Based on the connection method, SSDs and HDDs are divided into internal and external. The SSDs unique feature is that the drive is installed inside the case of a computer or laptop and is connected directly to the connectors located on the motherboard. As a result you get an additional physical disk that will work together with the main one; accordingly, all photos stored on it are always available.
This solution may seem convenient, since all you need to do to transfer pictures from your phone or camera is simply connect it to your PC and move the files to the second drive. The problem is that installing a second SSD or hard drive requires certain technical knowledge, skills and tools. It is not difficult to disassemble the system unit yourself, but in a case with the laptop you need some special screwdrivers and extreme sharpness so as not to damage anything. In addition, not all models support this feature without the need to purchase additional cables or adapters.
The disadvantages of the internal drive as a backup storage for photos include a constant connection with the operating system. If for one reason or another it becomes infected with a virus that encrypts the information stored in memory, there is a risk of losing all the pictures.
Option when connection with HDD or SSD is carried out via a USB port is considered more universal. In this case it is not necessary to use a computer or laptop to transfer photos from your phone. You can connect an external drive directly to your smartphone and back up your files. At the same time, you can take an external hard drive with you and use it as a digital photo album. For example, when traveling to visit relatives to show photographs accumulated during separation.
Let's compare the advantages and disadvantages of each option in the table below.
| Parameter | Second hard drive | External hard drive |
|---|---|---|
| Risk of mechanical damage | Minor | High |
| Operation speed | Fast | Depends on USB port generation |
| Portability | Absent | You can take it wherever you go |
| Ease of access | Only on the device it is installed on | Connect to any device, even a phone via OTG cable |
| Risk of accidental deletion | Average | Short |
Features of using an SSD for storing home photo archives
SSDs have replaced traditional hard drives; they have acceptable capacity and high speed of writing/reading data. The basis of these storage devices is semiconductor memory, which stores information without a power source. It is quite reliable when it comes to short-term data storage. However, for long-term photo storage, an SSD is not the best option.
The problem with SSD drives is that the storage life of data recorded on them without connecting to a power source is highly dependent on the ambient temperature. The higher it is, the greater the likelihood that photos stored on the drive may be lost.
Proof of this is the study "Effects of Temperature on SSD Endurance on LabVIEW Real-Time Systems" by National Instruments, published September 2023. Judging by the information from the article, to ensure the safety of archival digital photos on an SSD for the next 75 years, the drive must be stored at temperatures up to +10 degrees Celsius. If the temperature reaches +30 degrees, this period will be less than 4 years.
Advantages of SSD drives for storing photos:
- High speed of recording and access to photographs;
- The absence of mechanical components makes SSDs resistant to shaking and shock;
- There is no need to use additional cases for carrying.
Disadvantages of the devices:
- High cost per 1 GB of free space and storage instability when the ambient temperature rises.
Features of storing photo archives on HDD
The basis of the operation of hard drives are magnetic tracks that are written and erased on a plate made of a ferromagnet. The production technology of these drives is so refined that it allows them to be produced in large quantities at a lower cost than their solid-state counterparts.
The shelf life you can expect when storing photos on a hard drive is measured in decades. Although the magnetic tracks of the plates are subject to demagnetization, this process is so slow that if you put the drive on a shelf and connect it to the computer only after 10-15 years, the information will be preserved.
Another issue is that there is a small risk of damage to the control board that controls the read heads and the motor. Therefore, it is advisable to choose well-known manufacturers for such purposes. But even in this (unlikely) case, you can always find a workshop that can restore the functionality of your drive, and the data will not be lost. The only exception can be a situation when the plates themselves begin to degrade and collapse, but this turn of events is caused by a manufacturing defect or mechanical damage to the hermetic unit in which they are installed.
The advantages of choosing a HDD for backing up photos include:
- Low cost of drives compared to solid-state analogues per 1 gigabyte;
- Long storage period of recorded data;
- High probability of information recovery provided the integrity of the magnetic plates.
The disadvantages of hard drives are:
- High sensitivity to mechanical stress;
- Hard drives are inferior to SSDs in terms of file writing and reading speed, even when connected via the same SATA III ports;
- Require additional protection in the form of a case, since their control board is always open and can be damaged when transporting the device.
In which cloud should I store my photos?
An alternative to the methods of storing photos described above are cloud services, and this method is very popular among users because of its simplicity. Cloud storage is convenient because, regardless of your location, as long as you have the Internet, you always have access to the necessary files. In addition, uploading to the server from a smartphone or computer does not cause difficulties. It is enough to install the appropriate application for synchronization with the cloud, and support for Google Photos or iCloud is simply built into the manufacturer’s smartphones.
However, convenience comes at a price. All such services, starting from a certain volume (and not very large, usually 5-15 GB), become paid, and you need to pay every month. And the older the photo archive is, the more valuable it is, so the volume of photos in it will only grow, as will the monthly payment for cloud storage. However, even despite the convenience of accessing and downloading new photos from a smartphone, not all services are equally well suited for working with really large archives that require sorting and cataloging images. Let's look at how these features are implemented in various cloud services.
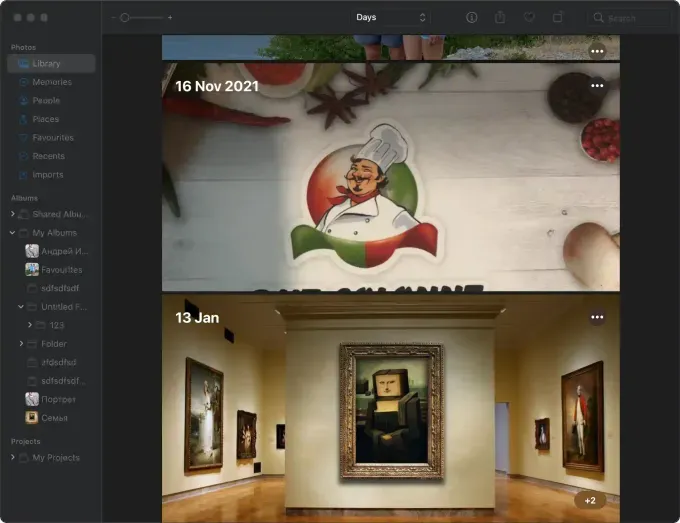
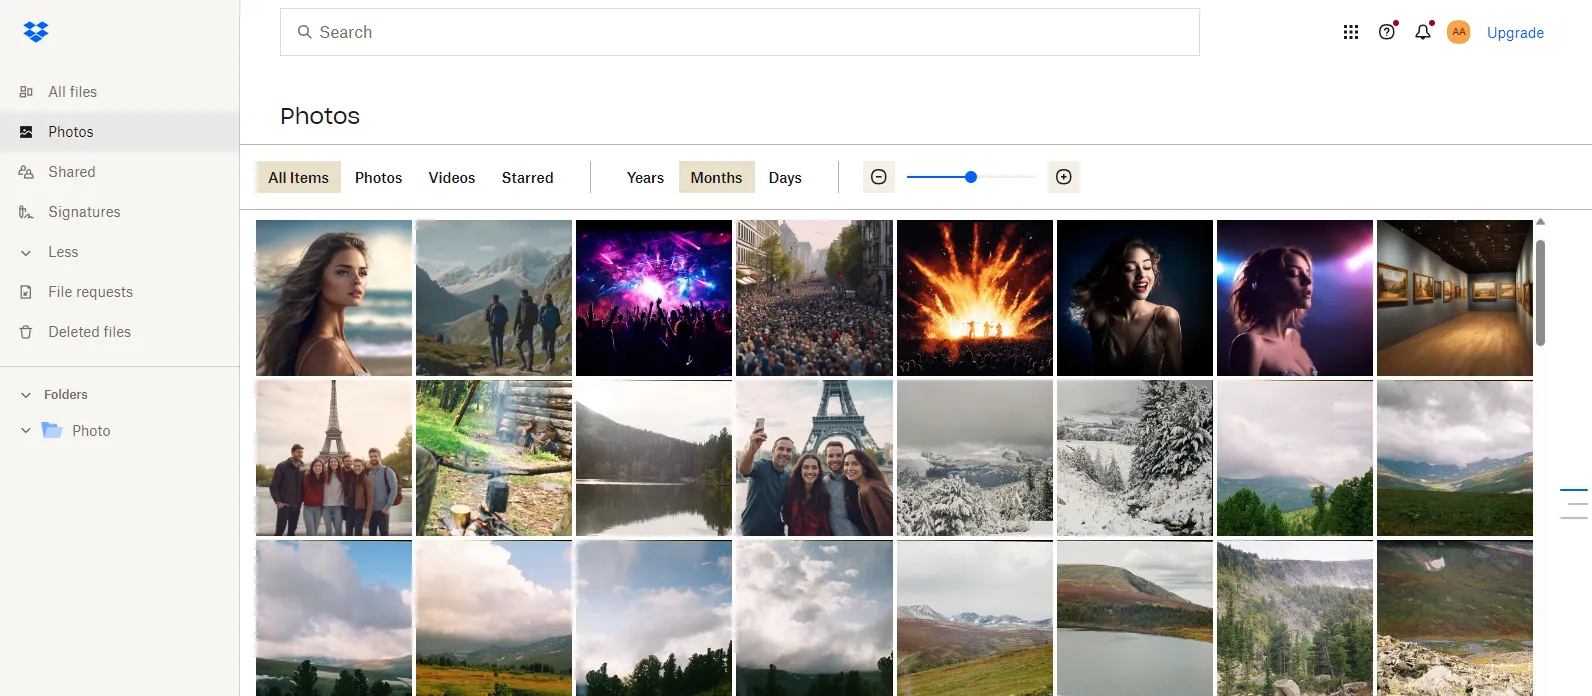
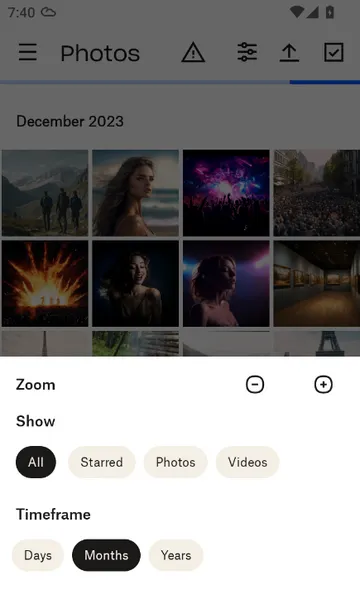
Google Photo
Google offers a truly powerful cloud infrastructure for working with photo archives. For this purpose, the corporation offers a separate application for phones – Google Photo. However, you can also access the storage through a computer browser.
Regardless of the chosen method, the user gets a lot of opportunities for sorting pictures according to various parameters, which greatly facilitates the search for the desired photo.
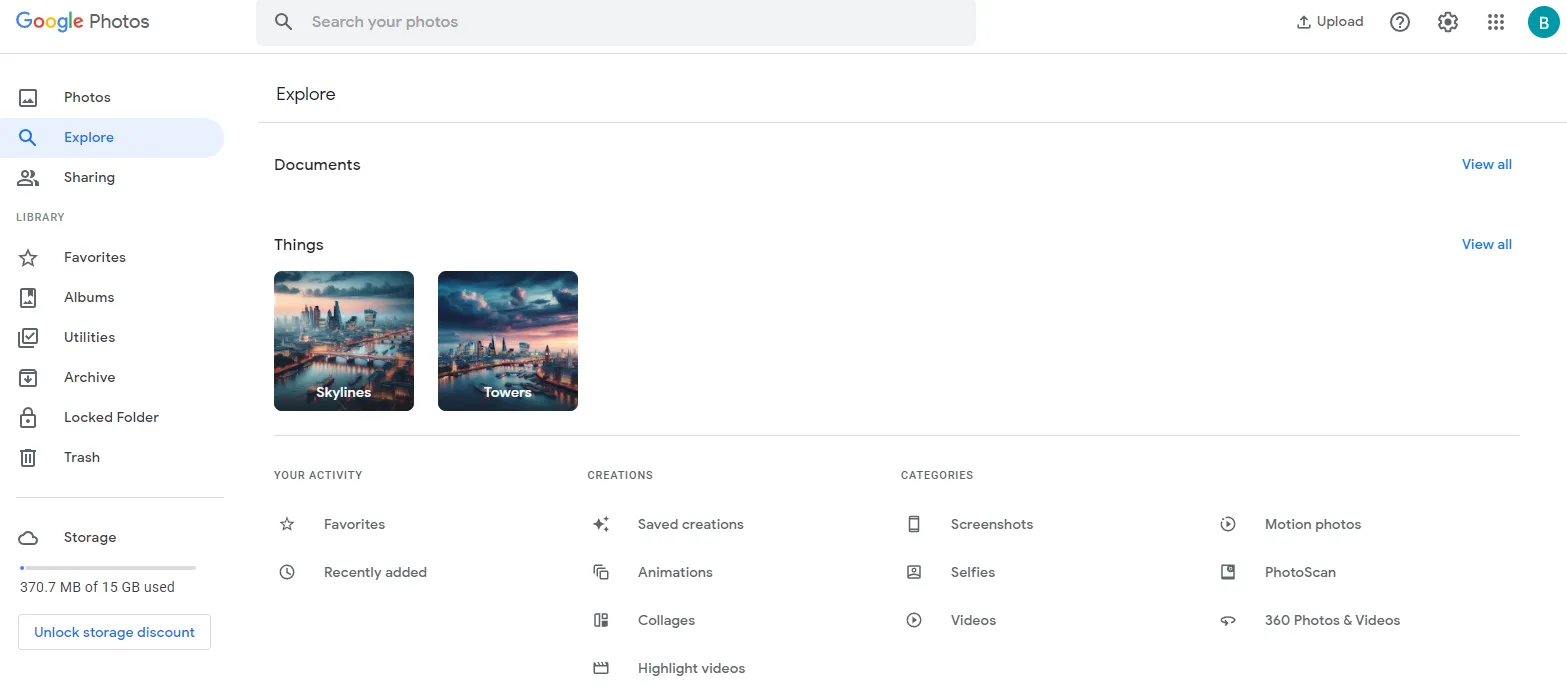
The mobile application has built-in editing tools that can be used to improve the quality of a photo, add details, and create an inscription.

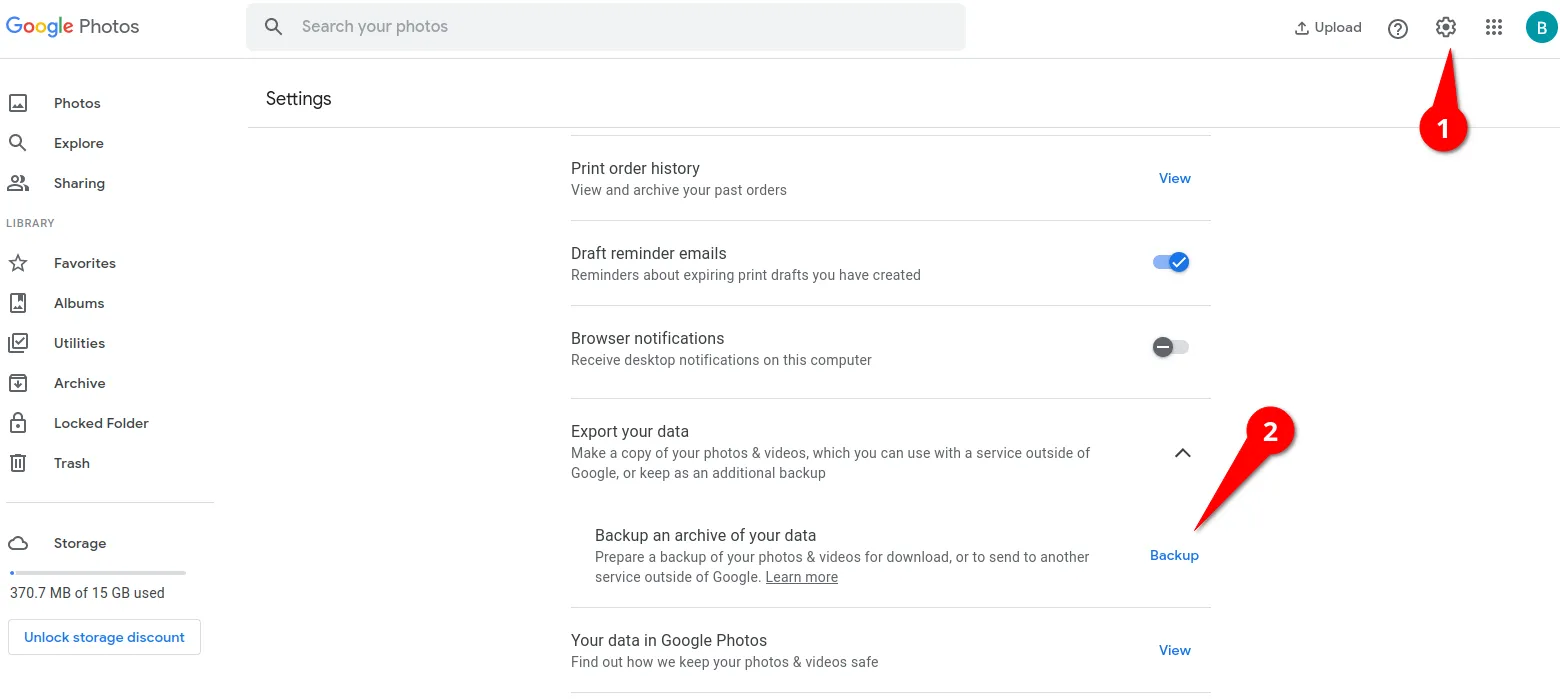
In general, among all the variety of cloud storage services, Google offers truly powerful functionality for working with photos. The problem is that all this is only accessible from a mobile phone. Yes, the app works on both Android and iOS, but there is no client for computers. Like all commercial cloud storage, Google Drive provides a limited amount of free space - 15 GB. Of course, when the corporation allowed storing compressed photos without restrictions, this was enough, but since May 31, 2021, the privilege is closed.
iCloud (Photos)
The presented cloud service is an analogue of Google Photos, only specifically designed for iPhone and MacBook users.
There are four main functional sections in the mobile application:
- Media library. This is a feed where all the photos uploaded to iCloud are shown in chronological order.
- For you. This section contains automatically generated collections of photographs, for example, “Events on this day.”
- Albums. Here the user can independently create collections of photographs according to certain criteria.
- Search. Various functions have been implemented that will help you quickly find a particular image if necessary. For example, by people, objects or places depicted.
As with Google Photos, Photos provides a wide range of photo editing capabilities. And not only the image itself, but also metadata: descriptions, titles.
Unfortunately, Apple only provides 5 GB of free storage for photos and files. For extra space you have to pay.
OneDrive
Like other Microsoft products, OneDrive is well integrated into the Windows ecosystem. This is especially noticeable in version 11 of the operating system, where a Gallery synchronized with cloud storage appeared in the file manager.
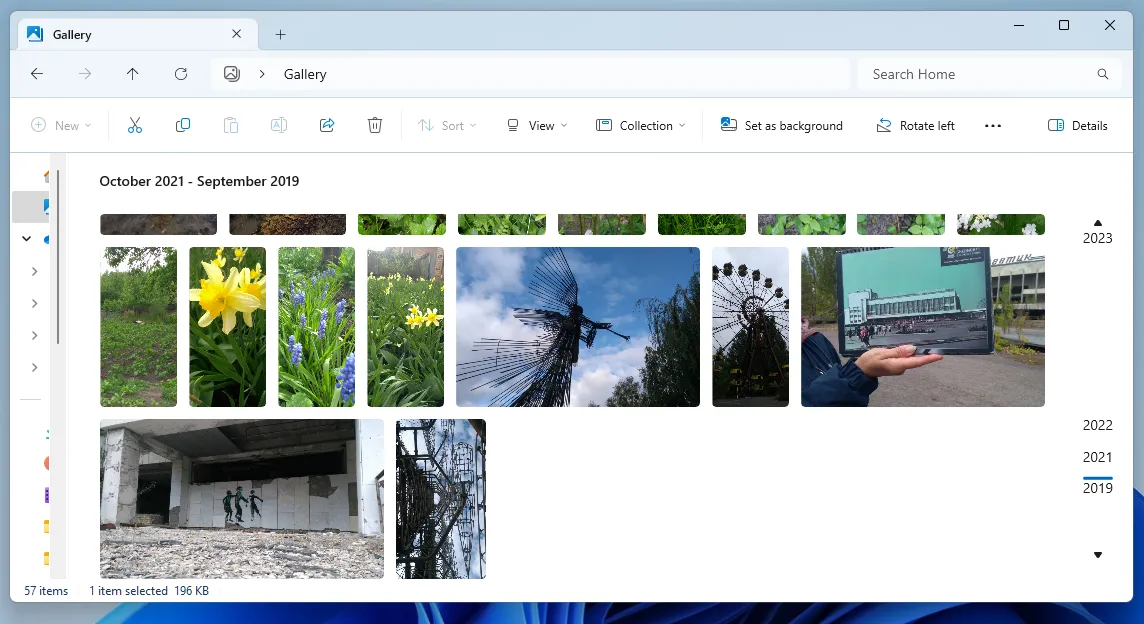
To access your photos, you don't need to install anything extra. Just open Explorer and all pictures are displayed in chronological order.
However, to access all the functionality of the service, you must open the mobile or web version of OneDrive.
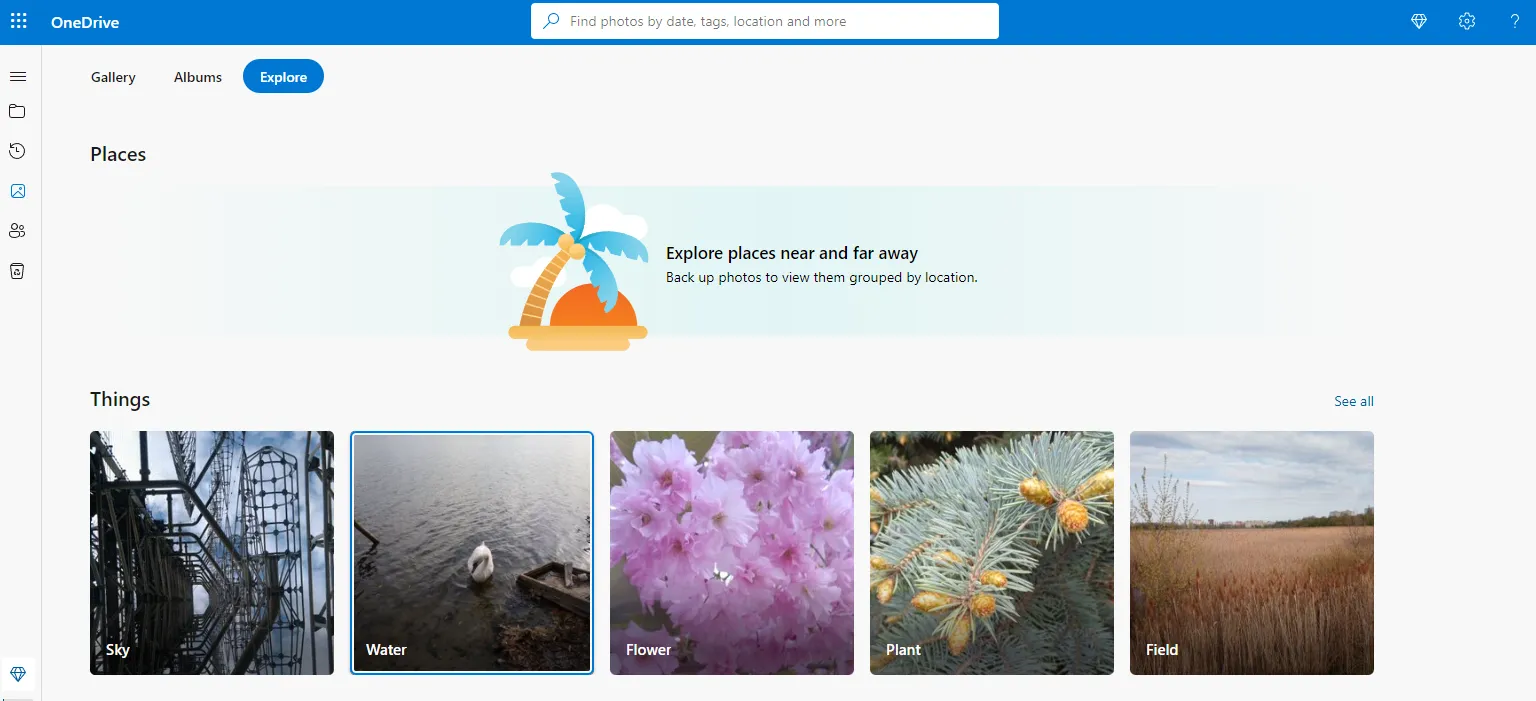
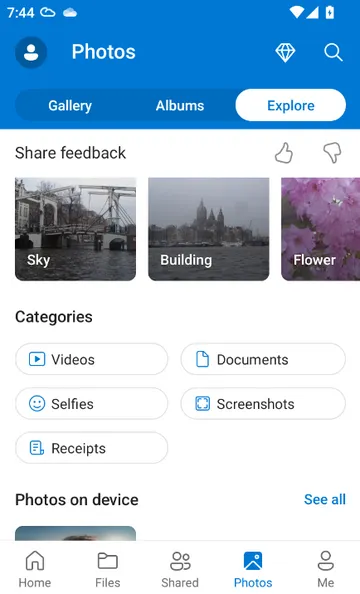
In these modes, Microsoft's cloud offers various options for sorting photos depending on what is captured there. There is a face and group recognition function and all photos in which this or that person is present. The cataloging process is carried out automatically using algorithms without user intervention.
DropBox
The service began operating in 2007, but it cannot be called a convenient solution for storing digital photos. Historically, DropBox has been more focused on enterprise clients and users who require convenient and reliable storage for documents.
Once you upload photos to the service, the only thing you can do with them is sort them by date they were added.
There is no object or face recognition function here. Album creation is not available. The mobile application duplicates the capabilities of the web version and is not of interest as a tool for storing photos.
Separately, it is worth noting the small amount of memory (only 2 GB) that DropBox provides its users with a free subscription. The minimum tariff immediately provides access to up to 2 TB of free space, which is a lot even for a long-term photo archive.
Home media server
Home media server (NAS) - the best option for those who want to enjoy all the benefits and functionality of cloud storage, but not overpay for corporate services.
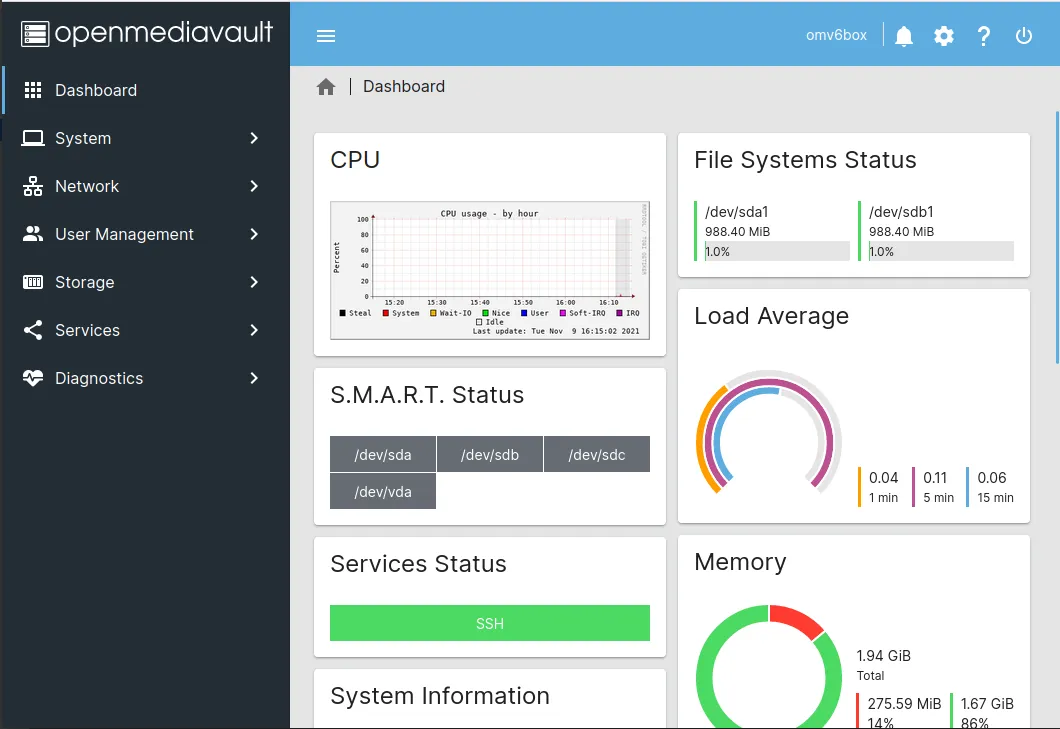
It is not necessary for you to have a deep technical knowledge in the field of server hardware to set up a similar solution at home. There are ready-made products, for example from Synology, with software specially developed for these tasks. Of course, if you have the appropriate knowledge and skills, you can assemble a home media server yourself. To do this, you can use an old computer or laptop by installing the relevant operating system. For example, OpenMediaVault or TrueNAS.
The convenience of these devices lies in their complete isolation, which significantly reduces the risk of infection by a virus that encrypts all stored data and demands a ransom. They are not affected by the main operating system of the computer. If you have some knowledge about the hardware, you can even set up remote access to the server, getting your own full-fledged cloud storage.
Despite the advantages of a home NAS, there are also disadvantages. This is primarily due to the fact that having your own server requires an initial investment. Software installed on the server requires initial configuration, access settings and periodic updates.
Pros of installing a home media server:
- convenient access to the archive for the whole family, without all the inconveniences of an external hard drive;
- the ability to access when you are not at home, you can show any photos to friends;
- the ability to use programs for sorting and server-level photo cataloging;
- The issue of automating photo archive backup is completely resolved.
Disadvantages of a personal media server:
- You need to have an additional free space in a house or apartment to place equipment;
- the need to install a UPS;
- The cooling system of the device constantly makes noise;
- high cost, considering that for the media server to work, you need to buy a hard drive separately.
Cataloging digital photos and building family connections
Cloud services like Google Photos and iCloud do have very broad functionality for cataloging and navigating through an archive, but this only works if all photos are stored in the cloud. However, for most people this is not the case. In fact, instead of one archive, they have several separate ones, and they have long forgotten about some of them. And there are also quite a lot of people who fundamentally refuse to pay monthly for storing their photos in the cloud.
But what can we do? How to get a single window to access all your photos, no matter where they are? How to quickly find photos by date, location, people depicted? How to make selections, put things in order, leave comments on pictures, sign people in historical photographs?
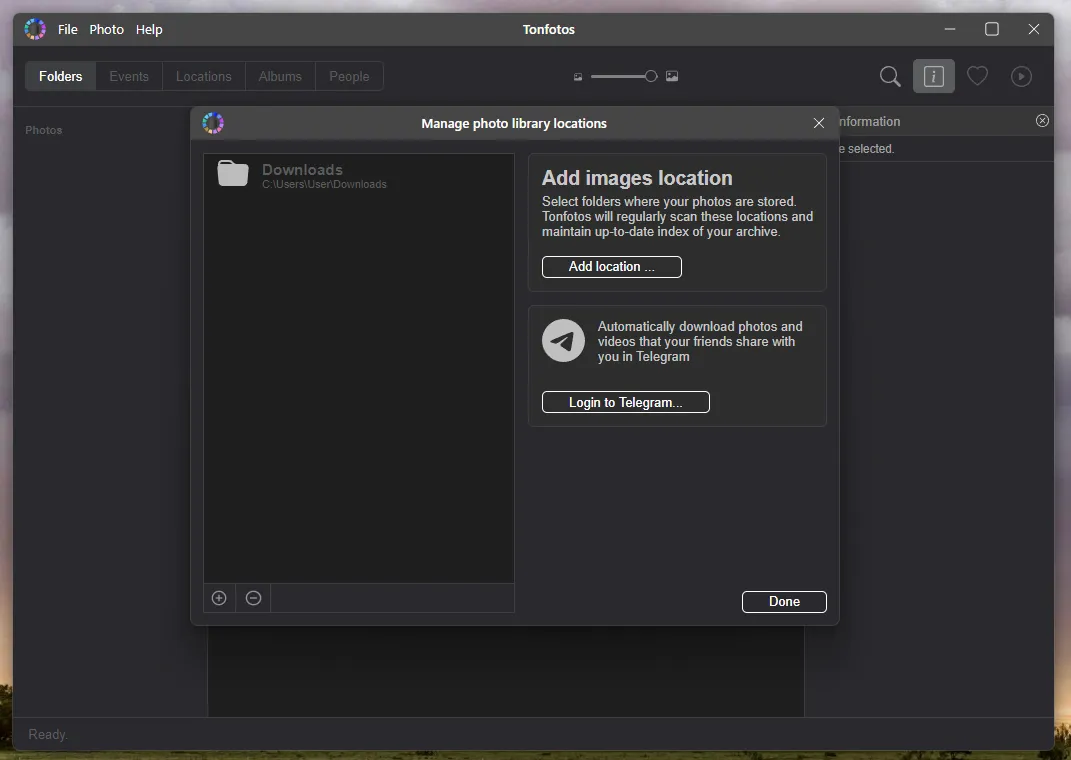
There's a whole class of applications for computers, allowing you to manage your photo archive. However, in our opinion, the most convenient way to do this is through Tonfotos, a program that is specially designed for these tasks.
Please note that the presented software works with all types of drives and can process photos located in a folder synchronized with cloud storage.
After downloading, the program will automatically ask you to specify the directories that you plan to catalog. If you use cloud storage, you need to specify those folders that are “cloud”.
Upon completion of the scanning process, access to all program functions is available. You can sort photos in chronological order, and even see the visual location on the map and create an album if the metadata indicates where the photo was taken. A feature of Tonfotos is the ability to recognize faces in photographs and automatically search for certain people in other photographs.
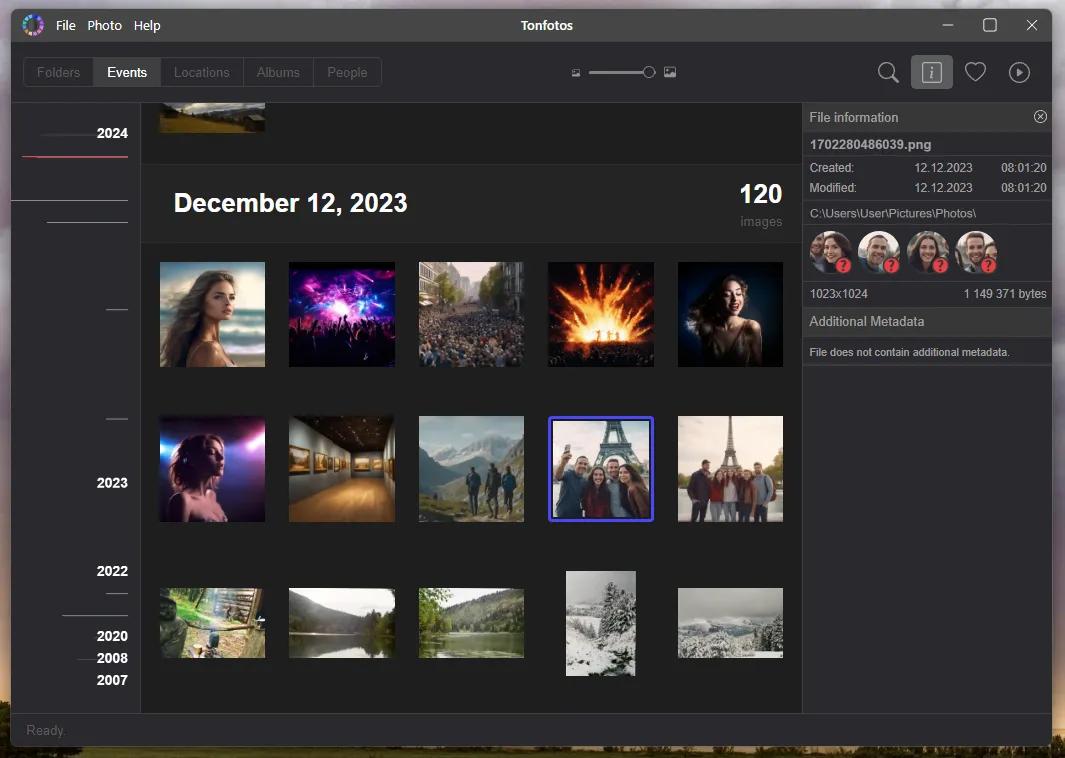
In addition, you can build family ties between individuals by indicating who is related to whom, contact information, place of residence, and profession.
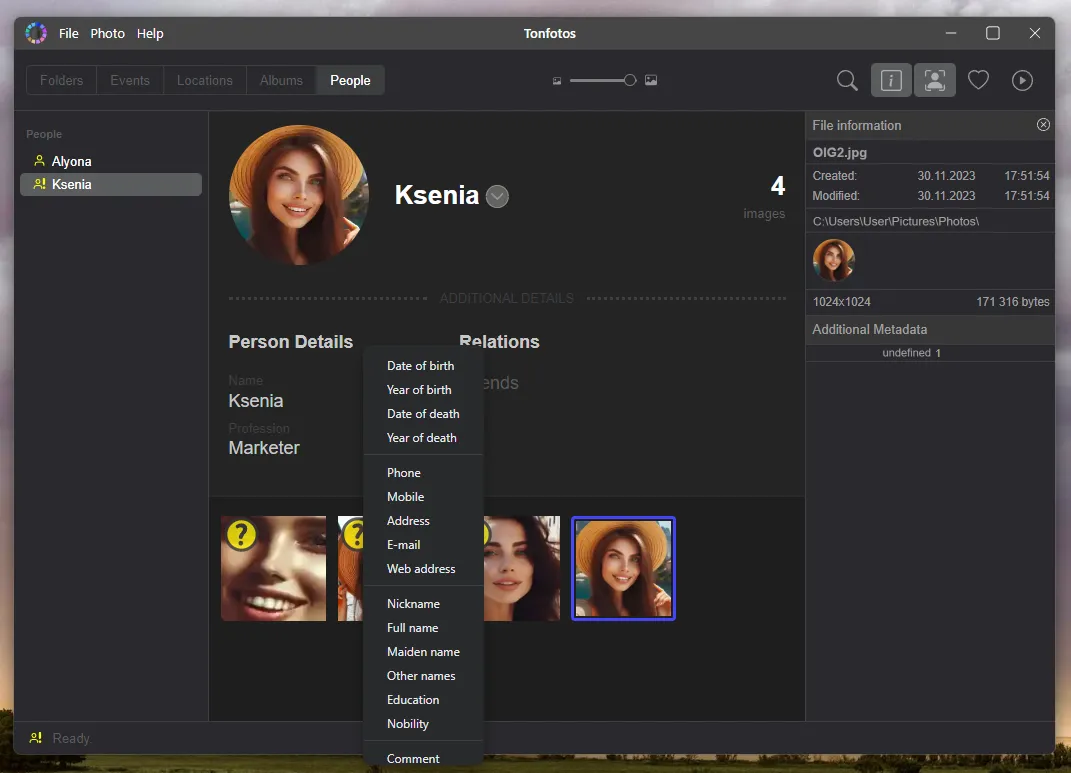
Tonfotos eliminates the need for manual photo sorting by making the process automatic. Using the program, you can quickly find where and when a specific person was. It helps to put things in order in your archive - get rid of duplicates, organize photos into folders by date, automatically upload new pictures from phones, but this is not the topic of this article.
Tools for creating photo backups
If the main task of cloud storage services or cataloging programs like Tonfotos is to provide convenient access to photos, then backup is the process of creating backup copies of all photos to a third-party drive in order to ensure their safety in case of loss or damage of source files.
Please note that uploading photos to cloud storage should not be considered a backup process. It's more like using a second internal drive. Photos stored in cloud storage may be accidentally deleted, especially if some other files are also stored there. As in the case of a local disk, drives in data centers fail, even though special requirements are imposed on them and ideal conditions are created in the premises. Here it is worth adding software failures or rough programmer errors that lead to database deletion. There are many stories of users permanently losing their data that was stored in the cloud. There are no guarantees in any cloud service agreement that data will be stored. Google directly states that files need to be additionally backed up and even provides tools for this.
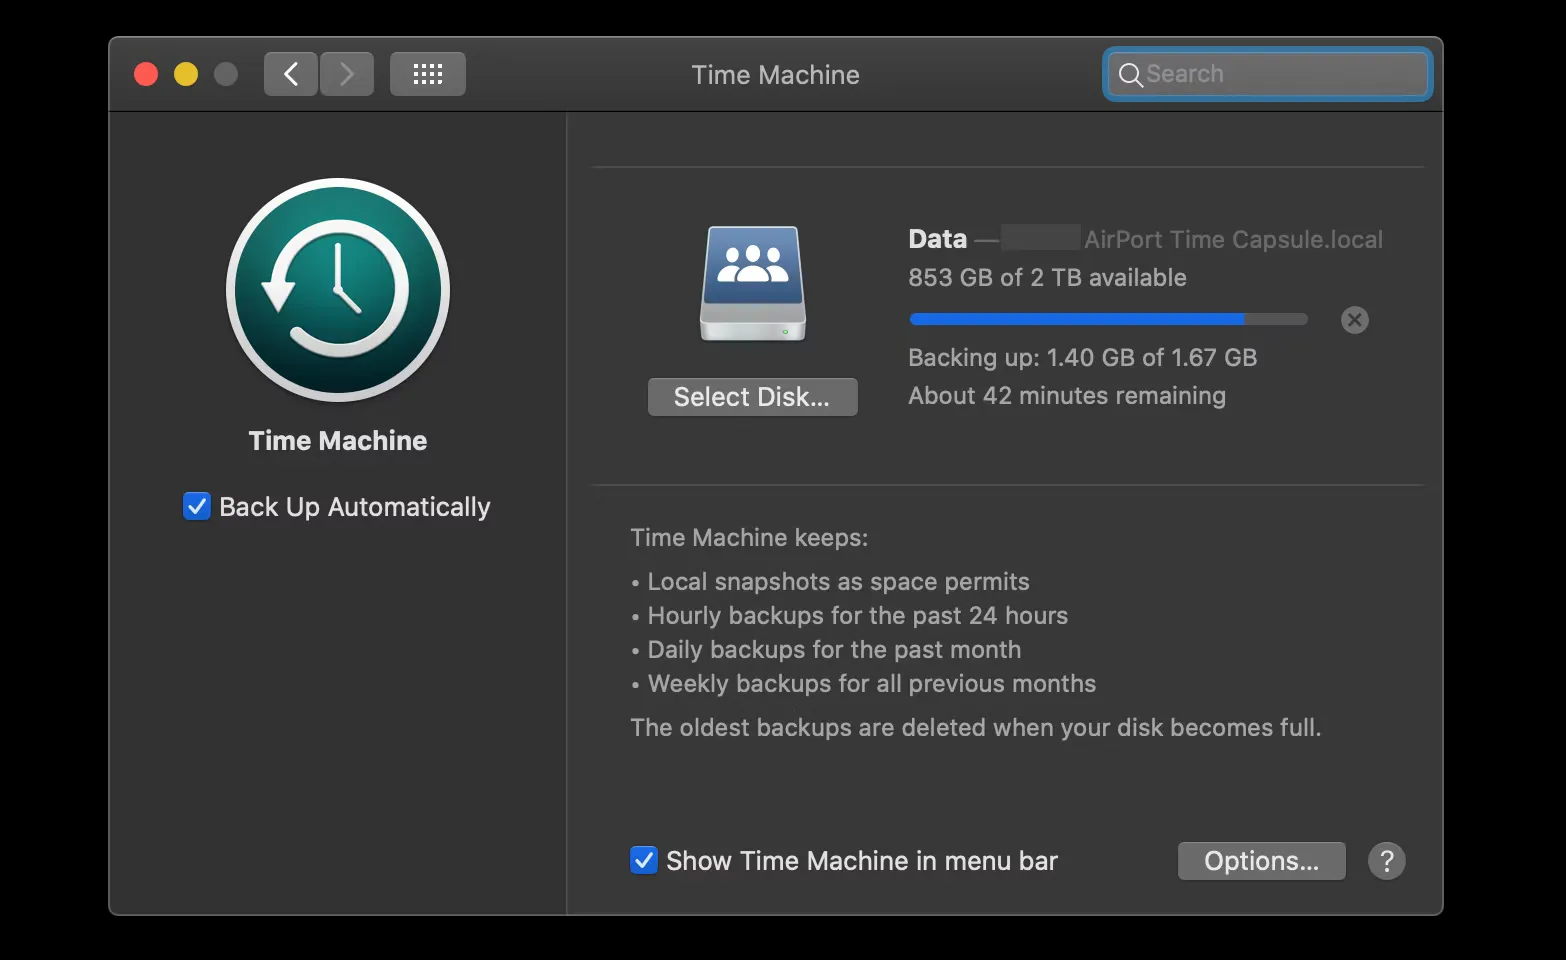
Similar tools are available in popular operating systems for computers and laptops. For example, MacBook users can use the TimeMachine program, which manually, on demand, or automatically backs up selected folders and files to an external drive.
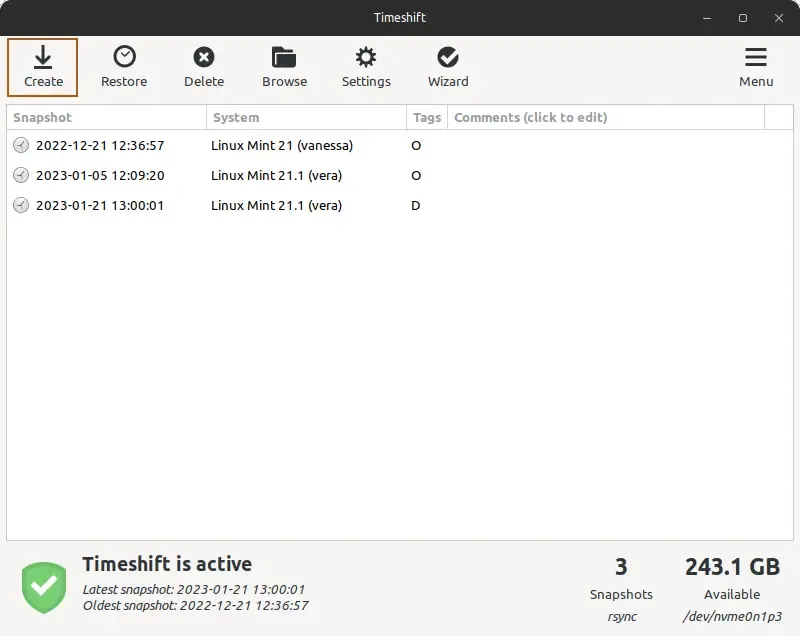
Users of Linux distributions have access to the Timeshift program. It has a simple and intuitive interface and performs the same tasks as TimeMachine running MacOS.
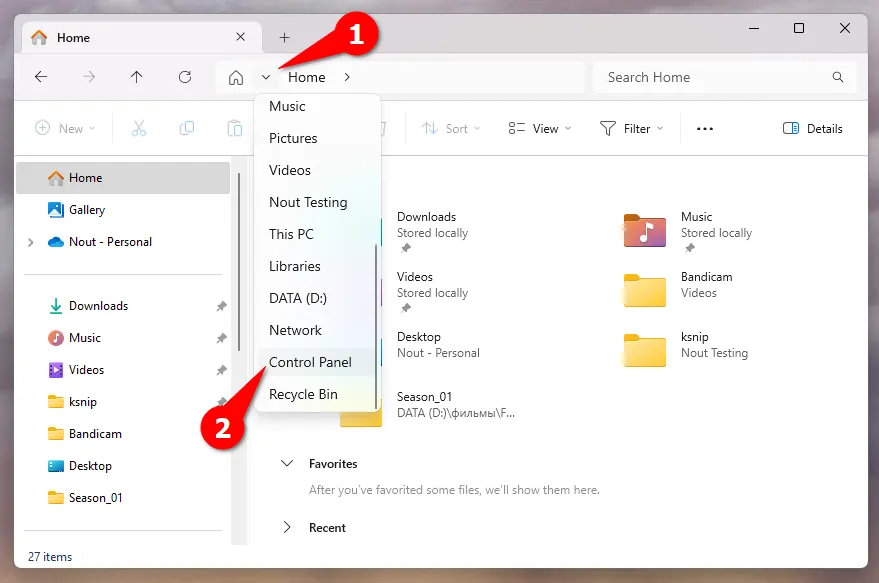
The backup to external drives function in Windows 11 has not yet received an updated interface, so it is called through the old control panel. The easiest way to call it is through the Explorer address bar.
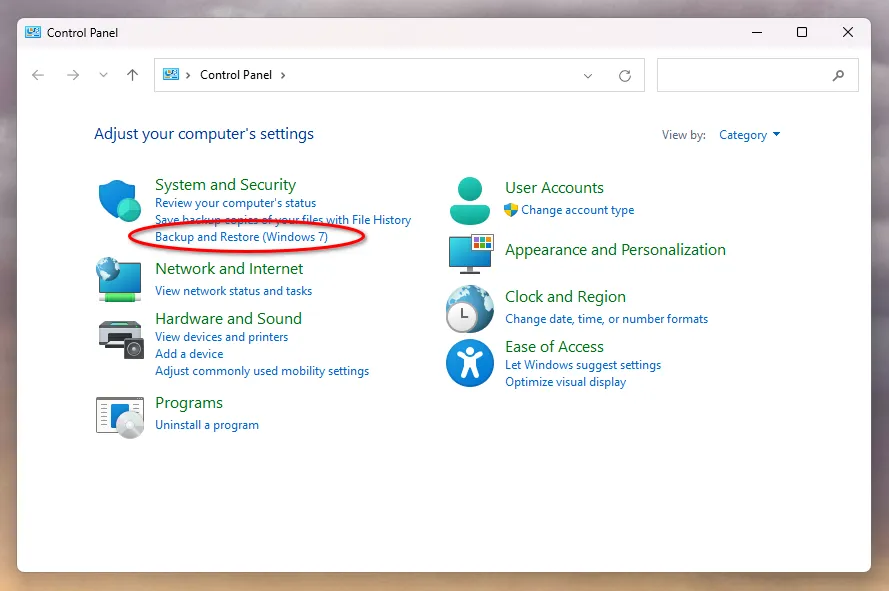
Now you need to click on Backup and Restore.
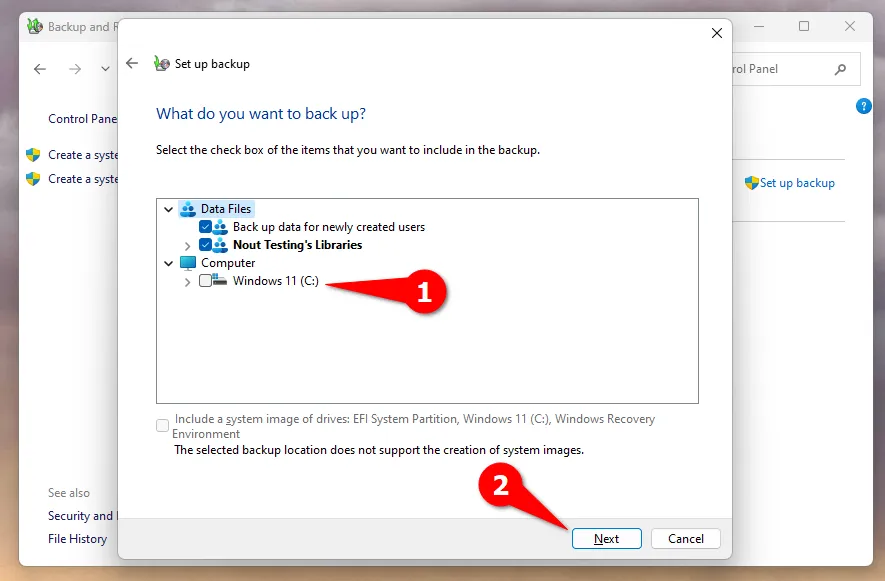
Next, a program window will open where you need to select the external drive and folders that will be automatically backed up.
The simplest way to organize backups is if you have a home server. If the photo archive is stored directly on it, then you can easily set up a regular automatic backup using standard applications. For example, Synology NAS comes with Hyper Backup software pre-installed. It allows you to automatically make backups to local volumes, external devices or the cloud.
Bottom line
Storing digital photos on different types of storage devices and cloud services opens up enormous opportunities that allow you to forever preserve the memory of life events. The main thing is not to rely on only one tool. You definitely need to make backups, use several cloud storages, or duplicate everything onto physical storage media.
In turn, Tonfotos will allow you to sort through all the pictures, sort them, and remove duplicates.