How to Properly Rotate a Photo?
Updated: September 25, 2023 Author: Vitaly
Many amateur and even professional photographers are faced with a situation when some of the pictures you took turn out with the wrong orientation. Of course, you can fix it with a couple of clicks, but not all methods of changing the rotation of a photo give the same result. But why? You will find the answer in this article.

When might you need to rotate a photo?
As a rule, modern cameras and smartphones are equipped with a gyroscope that helps the software determine the position of the device in space. Therefore, to switch from landscape to portrait orientation or vice versa, you just need to rotate the camera or phone.
However, the gyroscope does not always correctly determine the position, for example, when you do not hold the device at an angle of 90 or 180 degrees. That is why you get pictures with incorrect rotation. This problem is especially typical for cheap cameras, popularly called “point-and-shoot cameras.” If you get 1-2 such photos, you can simply rotate them using the standard operating system browser or a graphics editor, but when there are more than a hundred, you need a special software.
Two photo rotation technologies
Generally, there are two completely different ways to fix the orientation: change the image itself in a graphics editor or fix the “orientation” value in the JPEG metadata. Below we review in more detail both methods, their advantages and disadvantages.
Disadvantages of rotating a photo in a graphics editor
The disadvantage of this method, in addition to a fairly large number of actions that need to be done, is a decreased quality of an image. The fact is that JPEG (like many other popular photo storage formats) is a lossy compression algorithm. To keep the file size small, it gets rid of some of the "less significant" details in the image. Accordingly, when you have changed the image in the editor, you save it again in this format, throwing out the next portion of “extra details”. For clarity, let's enlarge a certain section of the photo before and after changing the orientation in the graphics editor.
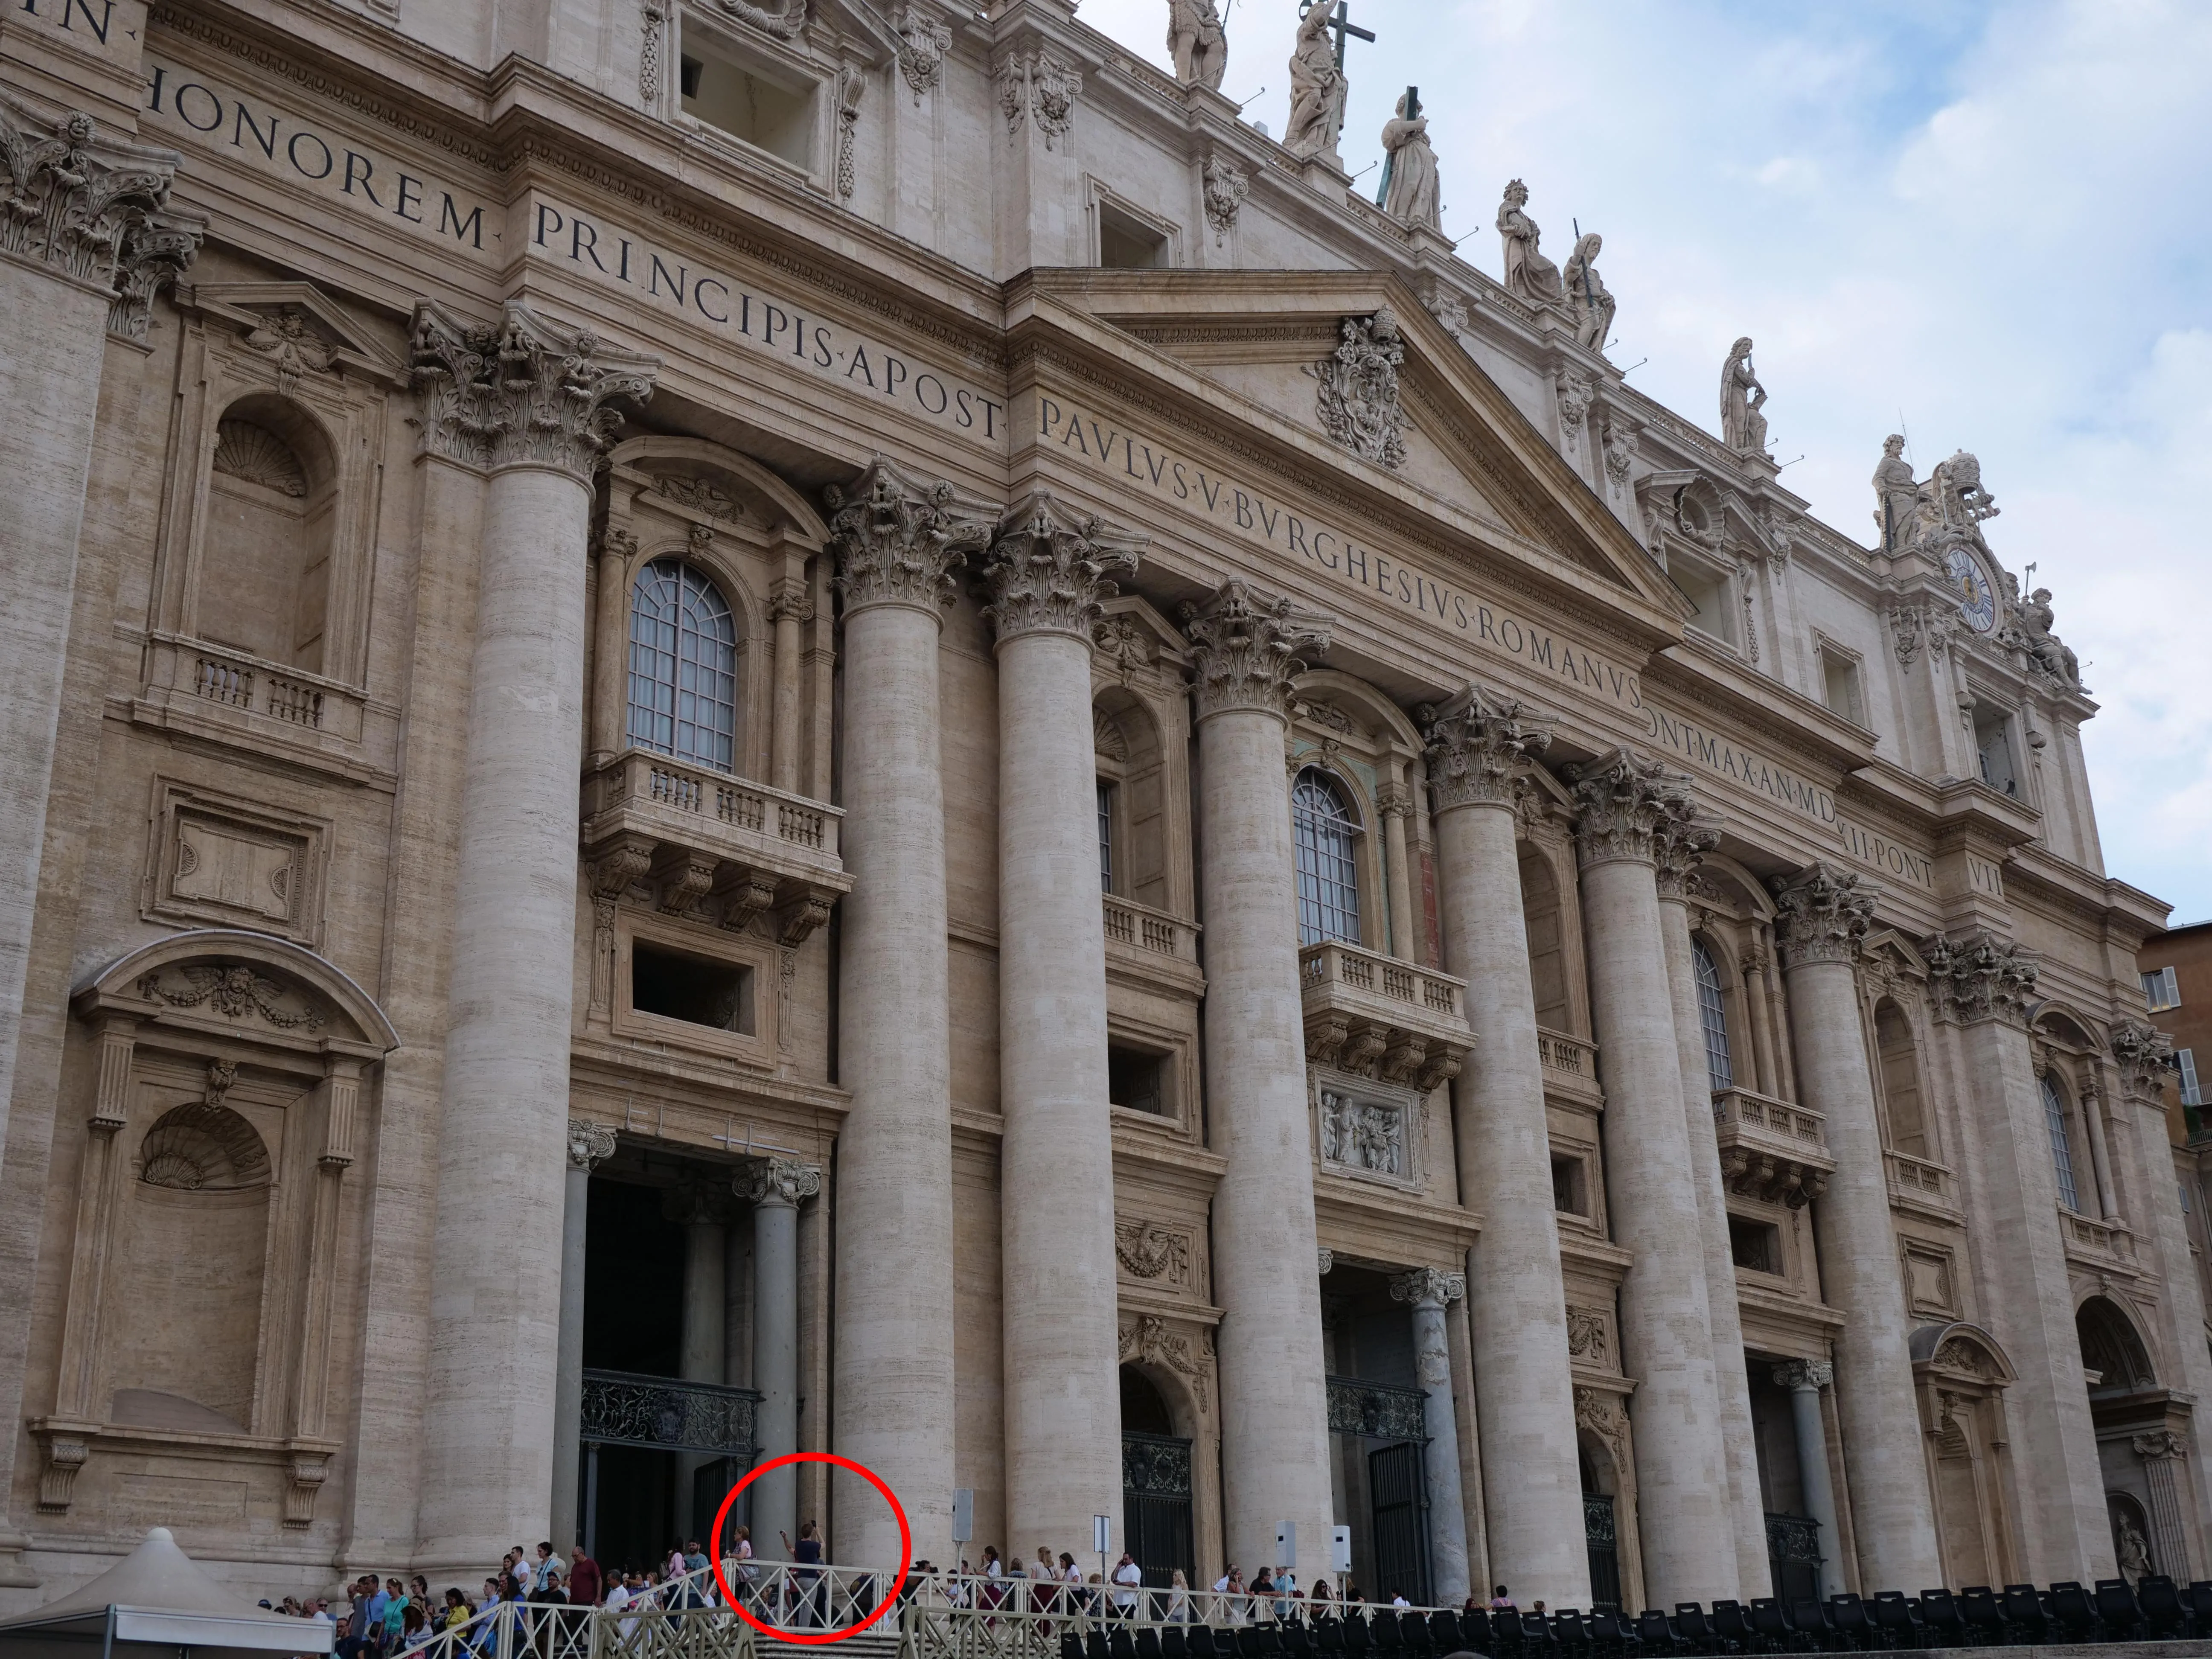
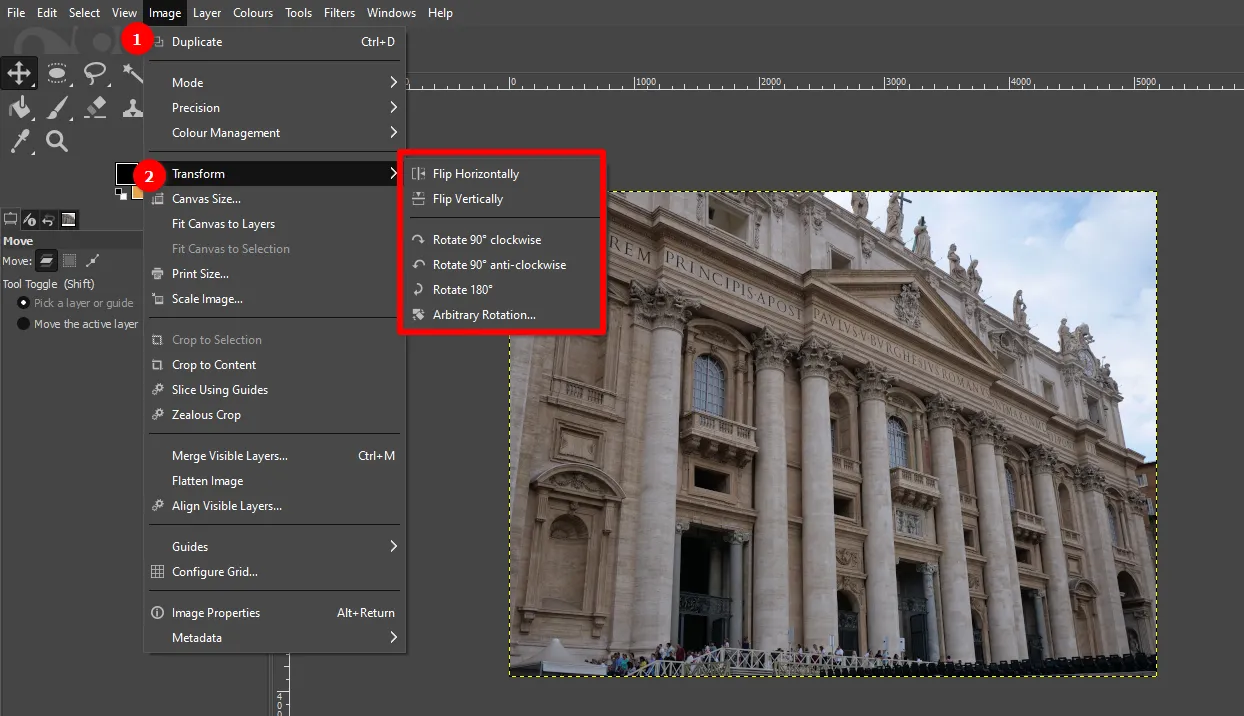
Below on the left you can see an image of the original photo, and an image- after a pixel-by-pixel rotation change in the GIMP program - on the right.
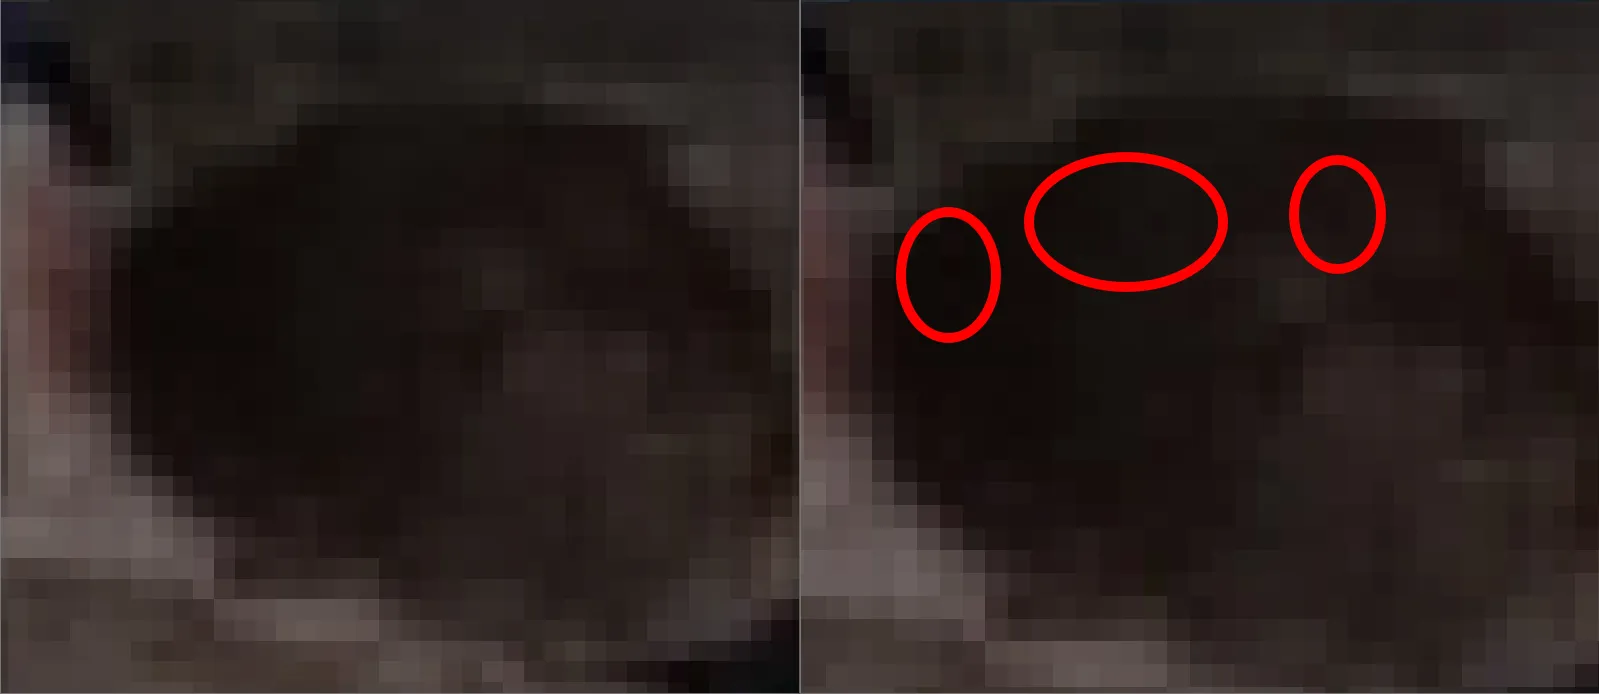
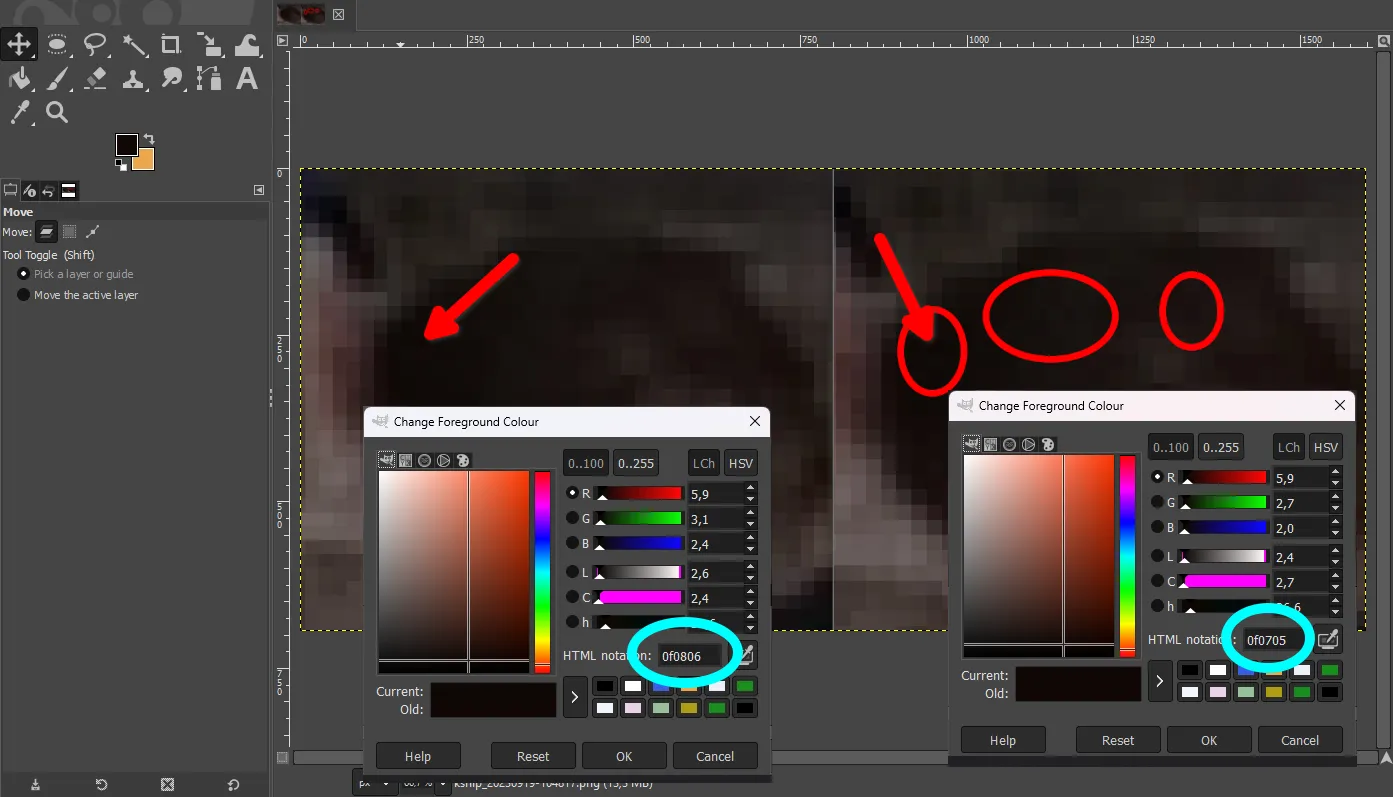
Here, you can see with the naked eye that individual pixels have a distorted tint, which is further confirmed by the Eyedropper tool.
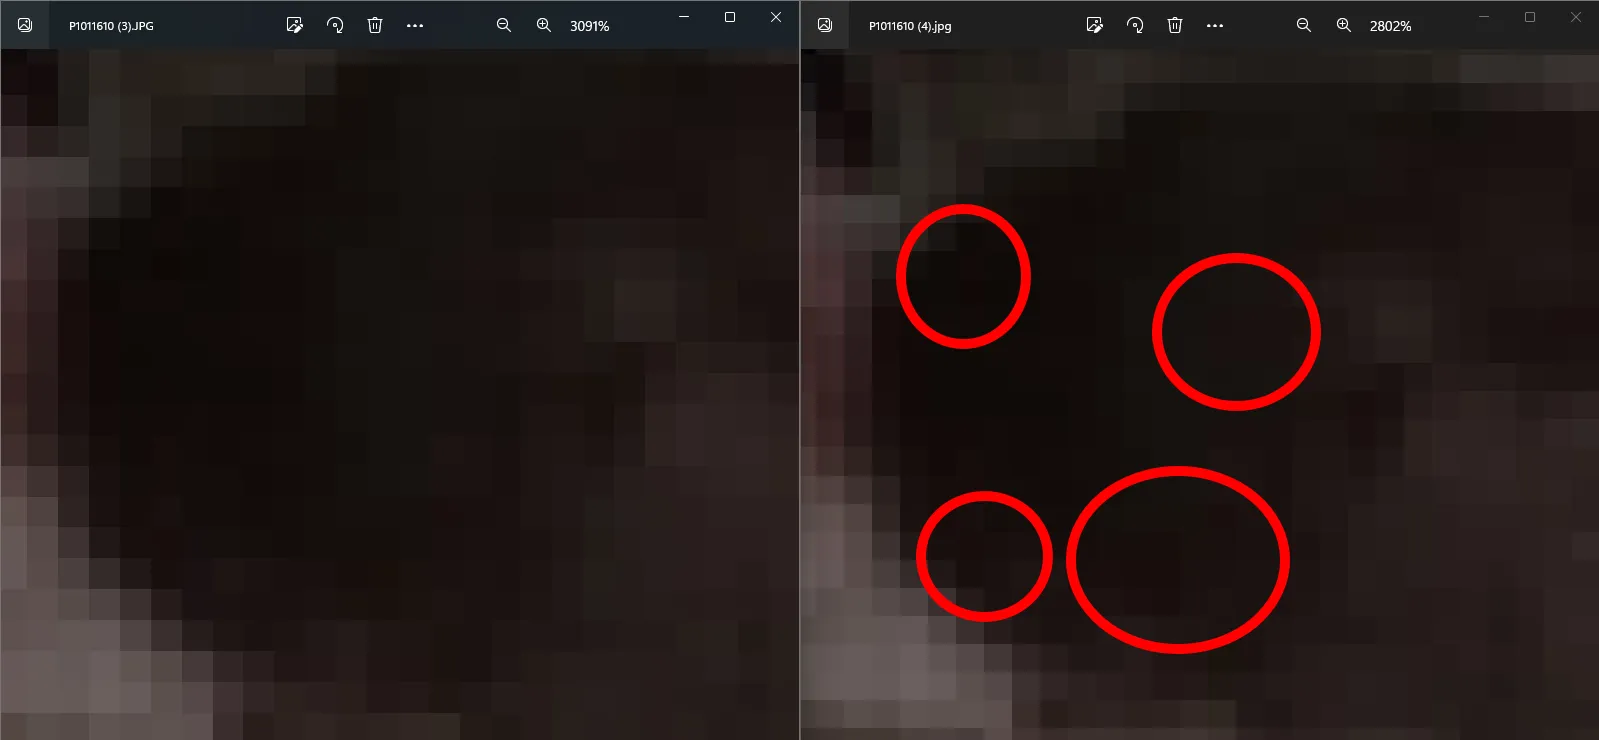
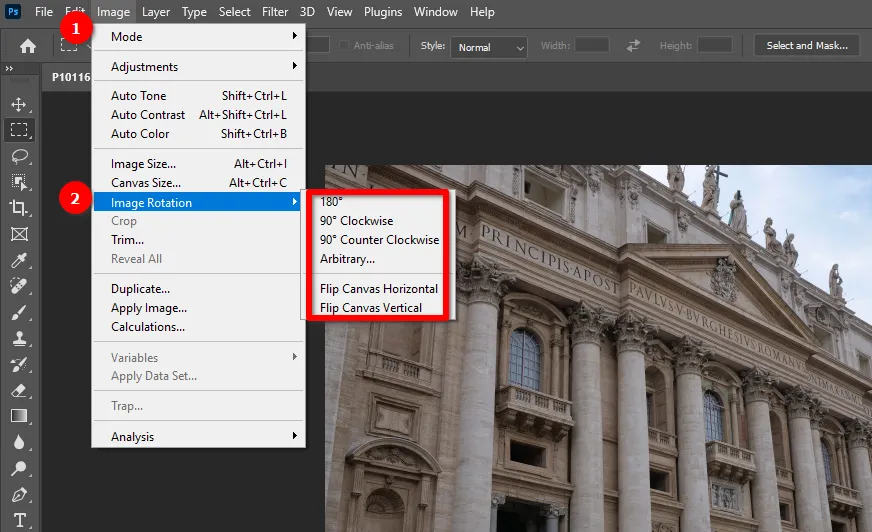
Photoshop 2024 showed a similar result, only with less color distortion. Similarly: “before” on the left and “after” on the right.
Despite the fact that this method of changing the position of a photograph provokes distortions, its use guarantees the correct display of the orientation in all browsers and graphic editors. In addition, it is compatible with all raster image formats (JPEG, PNG, GIF, TIFF, BMP, RAW, PSD, WebP, AVIF).
It is noteworthy that the image file size increased after changing the photo rotation in GIMP, but decreased relative to the original value after Photoshop 2024.
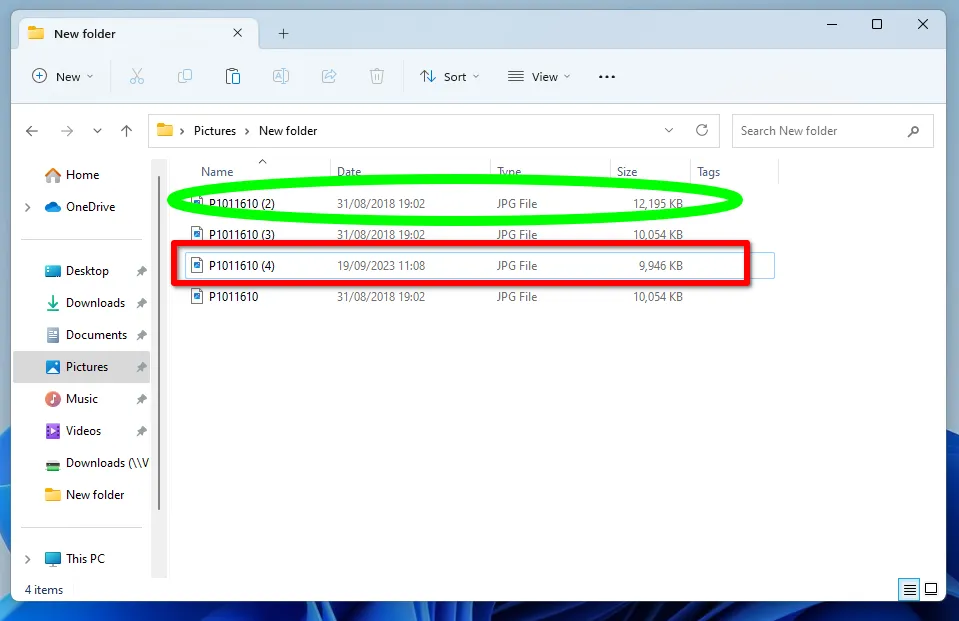
This may be due to the image compression settings in Photoshop. In addition, all metadata were deleted.
Change photo rotation using metadata
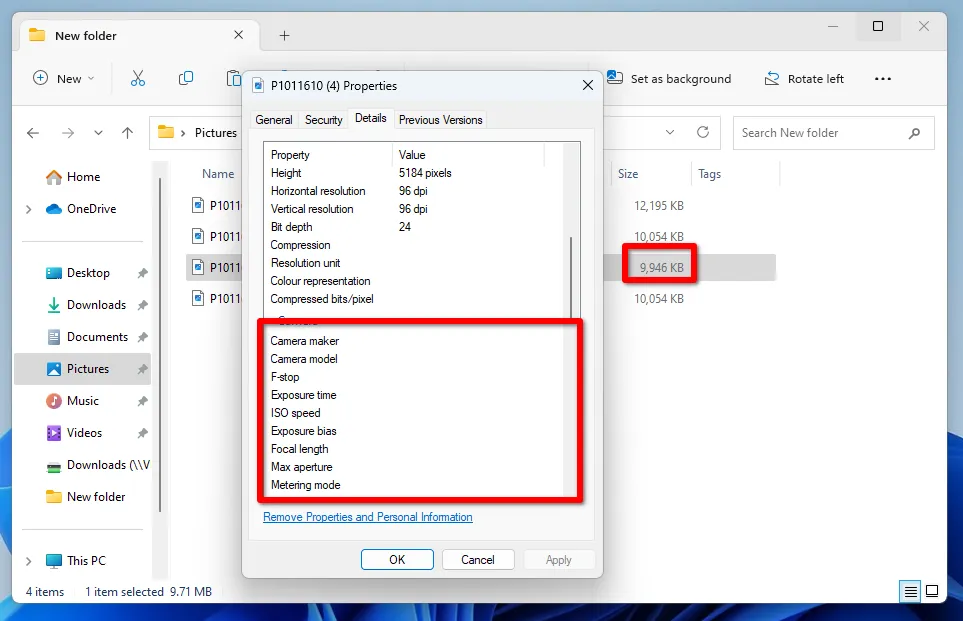
Metadata is stored inside the raster image file and contains information about when, where and how the photo was taken, and the name of the device. There are different metadata standards (EXIF, IPTC, XMP), each has its own purpose. However, in the topic of this article we are interested in EXIF, because there is an Orientation tag in this metadata, which tells the viewer how to display the image or photograph correctly.
A distinctive feature of this photo processing method is that the image file does not actually change its orientation in the device's memory. Metadata only gives instructions on how the image itself should be displayed.
The advantage of the method is that the image quality does not change in any way. The photographs in the original and after indicating the position are identical.
The only drawback is that the metadata has limitations related to the degree of rotation. EXIF supports the following rotation angles:
- 0 degrees;
- 90 degrees clockwise;
- 180 degrees;
- 90 degrees counterclockwise.
In addition, there are specular reflections, when the top of the image is in the lower left or upper right corner. You can also rotate the bottom of the image to the top left or bottom right.
How to change photo rotation in Windows 10 and 11?
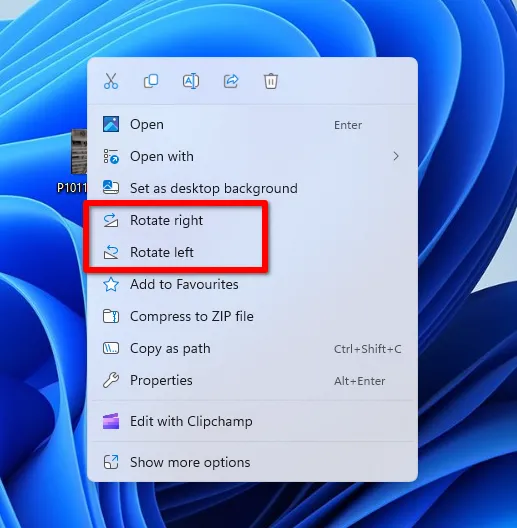
The Windows 11 operating system compares favorably with previous releases in a way that its standard tools have good integration with image metadata. For example, to change the rotation of one or more photos, just select the necessary files, call the context menu and select the appropriate rotation option.
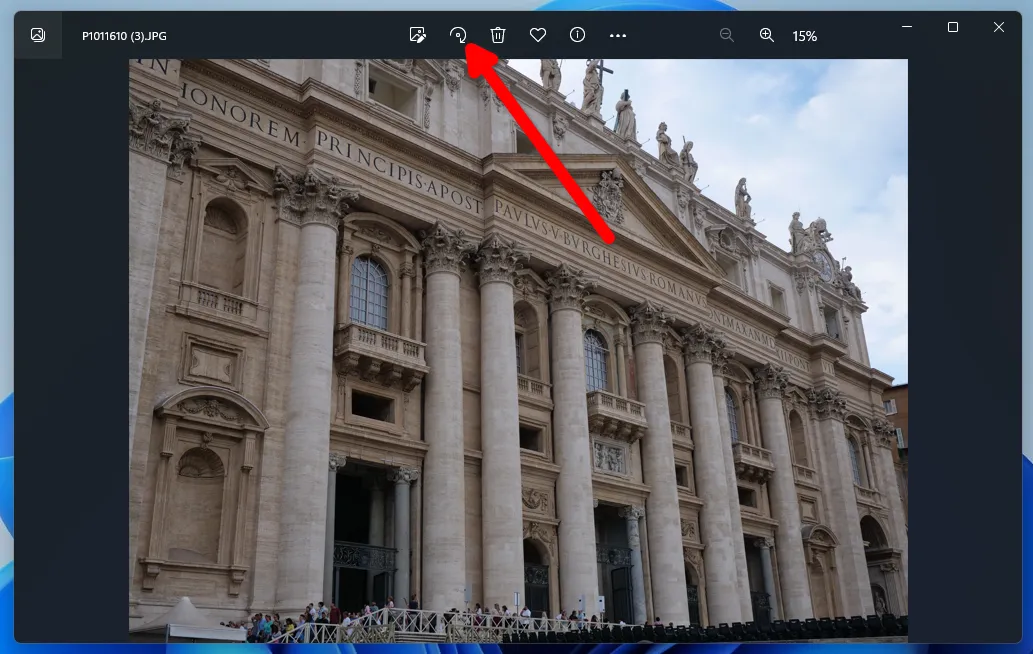
A similar function is provided in the pre-installed Photos application, which is included in Windows 10 as well. However, you can only change the orientation of a photo in one direction, so you will often need to press the button several times to get the desired result.
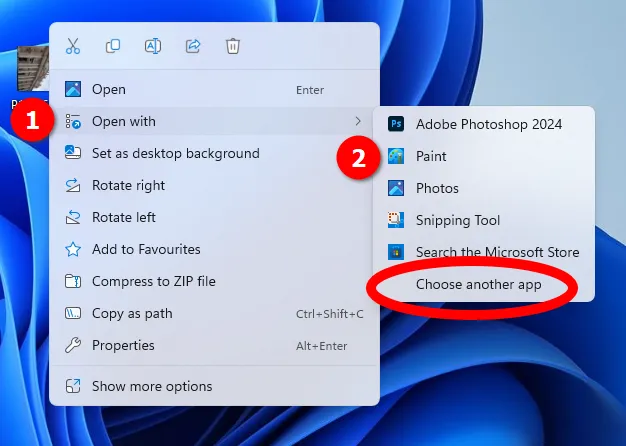
You can also rotate a photo in Windows 10 and 11 using the pre-installed graphics editor “Paint”. Select the required photo and call the context menu. Next, go to the “Open with” item and click on the “Paint” button. If it is not in the list, you should click on “Choose another app” and select this application from the full list of installed editors.
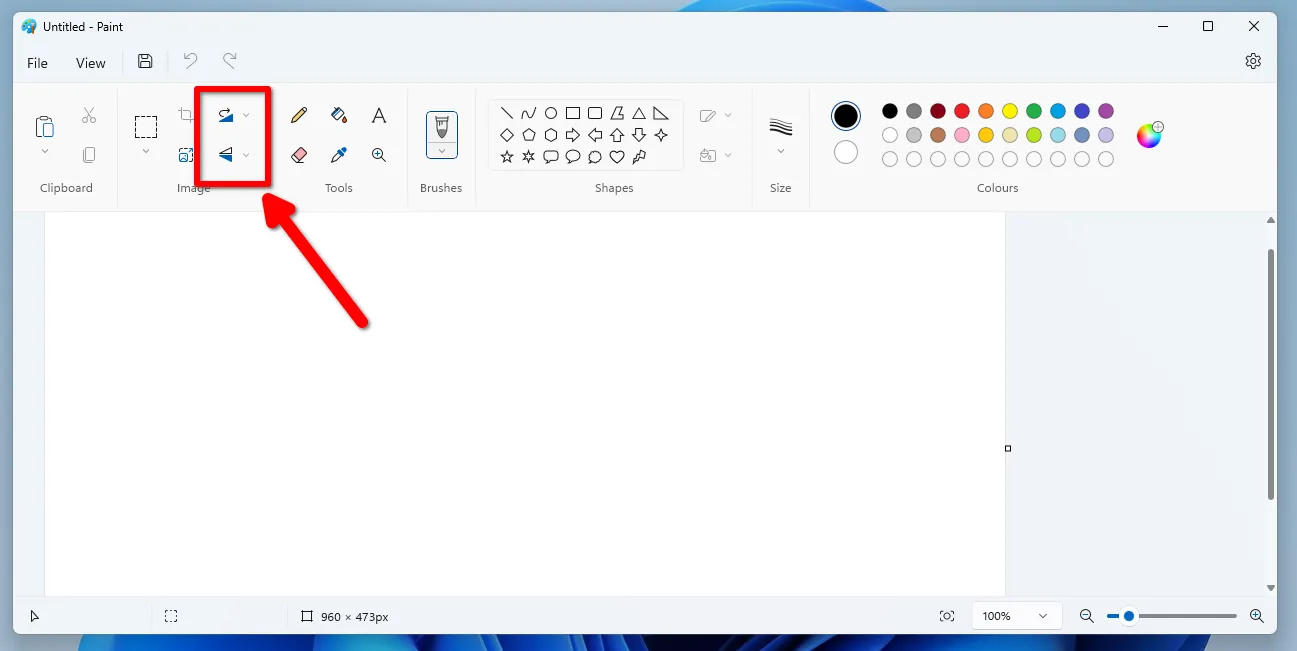
All that is required to rotate a photo through “Paint” is to select the corresponding icon in the top main menu of the program.
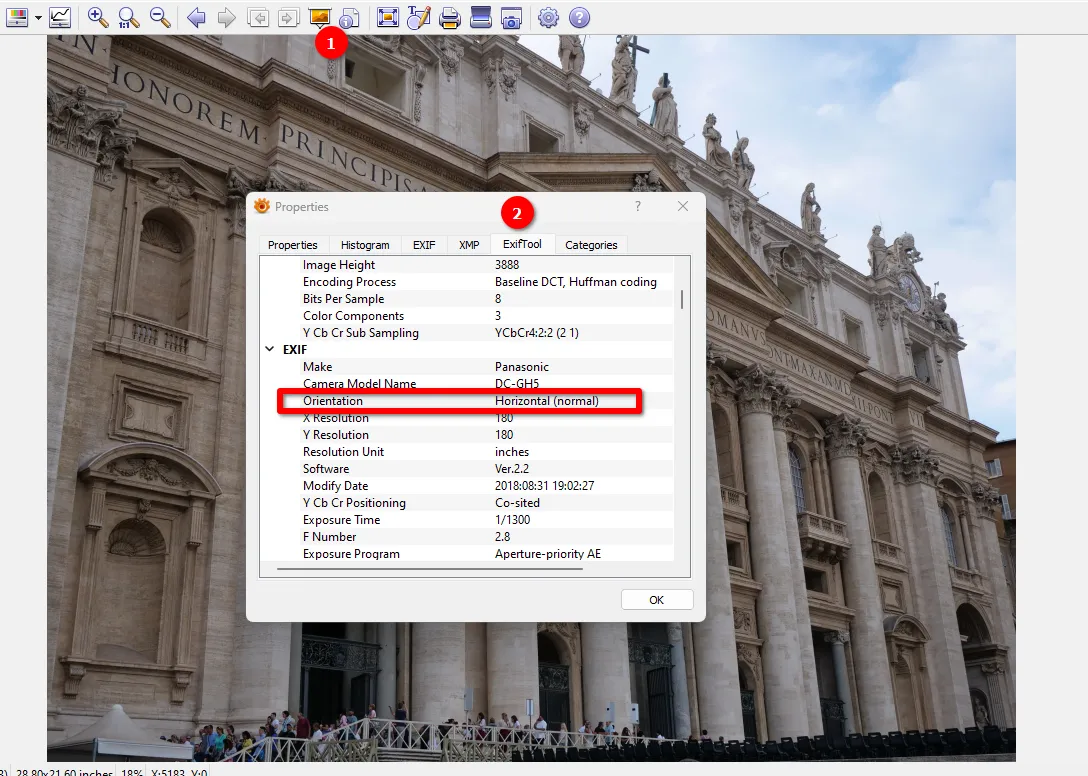
In all the methods described above, the position change is carried out precisely through the EXIF metadata, which can be verified by opening the photos in the XnView program.
How to quickly rotate many photos?
Despite a significant step forward, the standard Windows 11 tools do not allow simultaneous modification of photos that are located in different places on the computer disk. You will have to go into separate folders each time using Explorer.
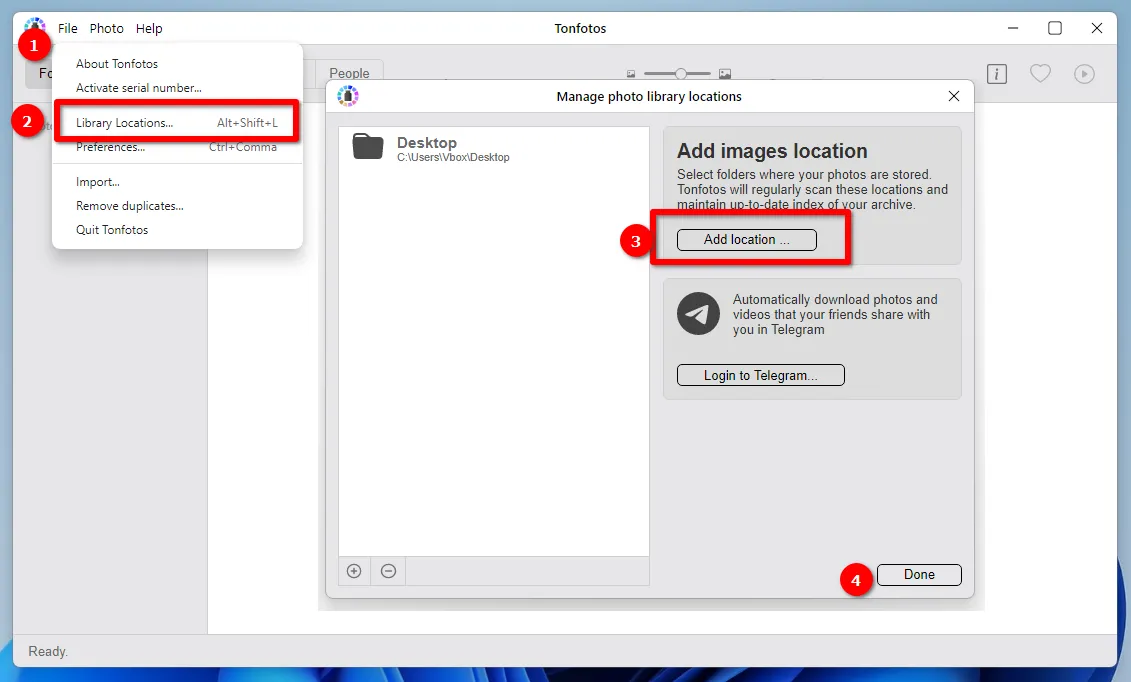
The solution to this problem is a third-party program Tonfotos, which can be downloaded for free. This is a convenient cataloger with metadata editing functions. To start working with images, you must first add the folders where the photos are located to the program and wait until they are indexed.
Next, you need to select the necessary files by holding down the CTRL button on the keyboard, and use the context menu to set the required direction of rotation.
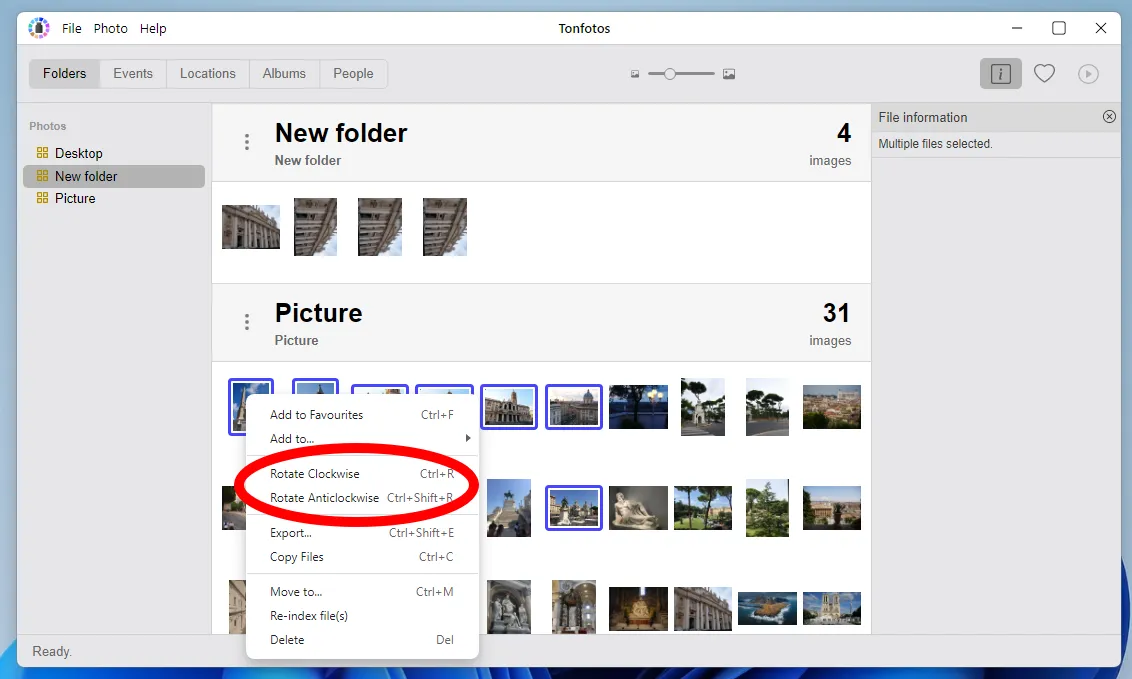
It is worth noting that, as in the case of standard Windows 11 tools, Tonfotos does not degrade the quality of the photo by re-compressing, but only adds the corresponding data into the EXIF metadata tag.
How to rotate a photo pixel by pixel?
If you need a pixel-by-pixel change in the angle of rotation of a photo, use the functions of the graphics editor GIMP or Photoshop.
How to rotate a photo in a Linux distribution?
The Nemo file manager in the popular Linux Mint distribution does not provide the ability to directly change image rotation, as in Windows Explorer. But in the regular browser you can rotate the image both counterclockwise and clockwise.
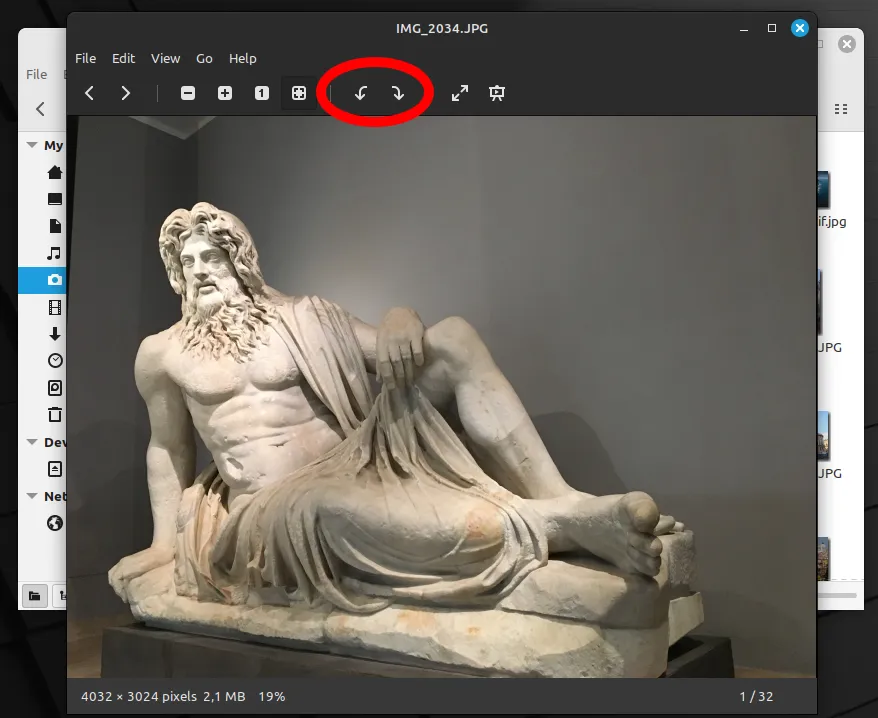
Moreover, all changes are made not using a metadata tag, but pixel by pixel. This negatively affects the quality of the photo and takes more time.
Unfortunately, Linux distributions do not support the ability to install Photoshop due to Adobe's short-sighted policy; only the pre-installed GIMP is available. However, this class of operating system supports Tonfotos, which can rotate photos without degrading their quality.
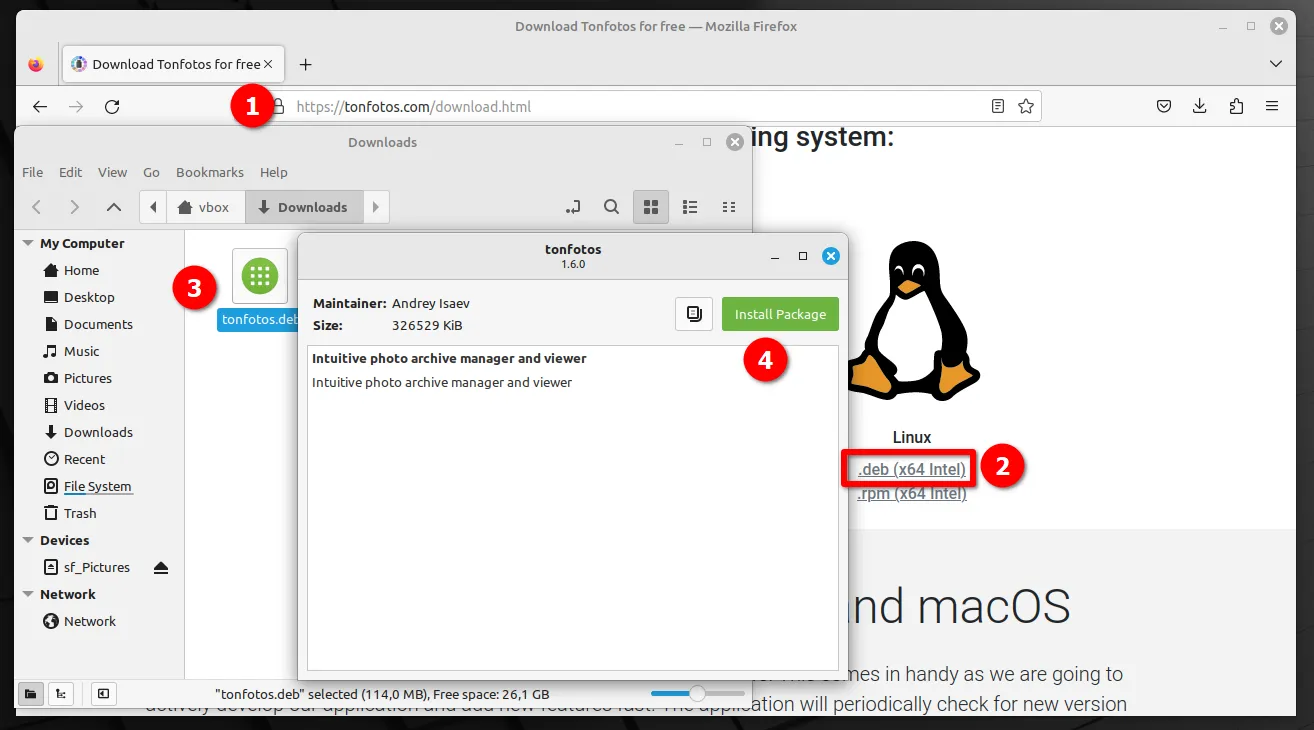
If you are using the Linux Mint distribution, then you can easily install the program. You need to download the DEB package from the official website https://tonfotos.com/ and just run it.
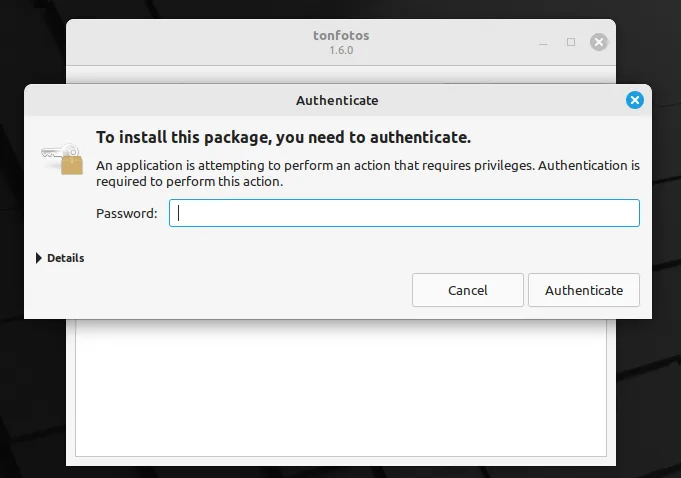
The last step to start the installation process is to enter the administrator password.
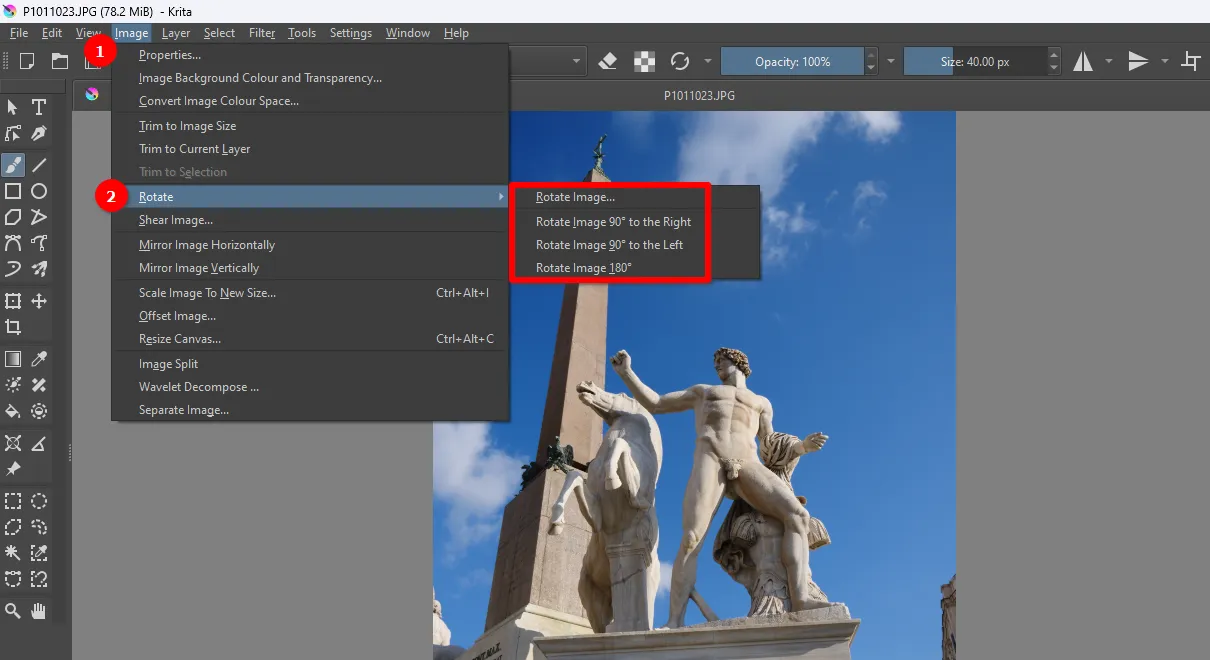
Users can also install the free professional drawing program Krita, which has the option to change the orientation of the image.
How to change the tilt and rotation of a photo on Android and iOS?
Modern smartphones allow you to solve many tasks that were previously unique to computers. This also applies to working with photographs. At the same time, there is no need to install additional applications: even standard tools have the necessary functionality for changing the tilt and orientation of photos. However, here you won’t be able to process several images at once.
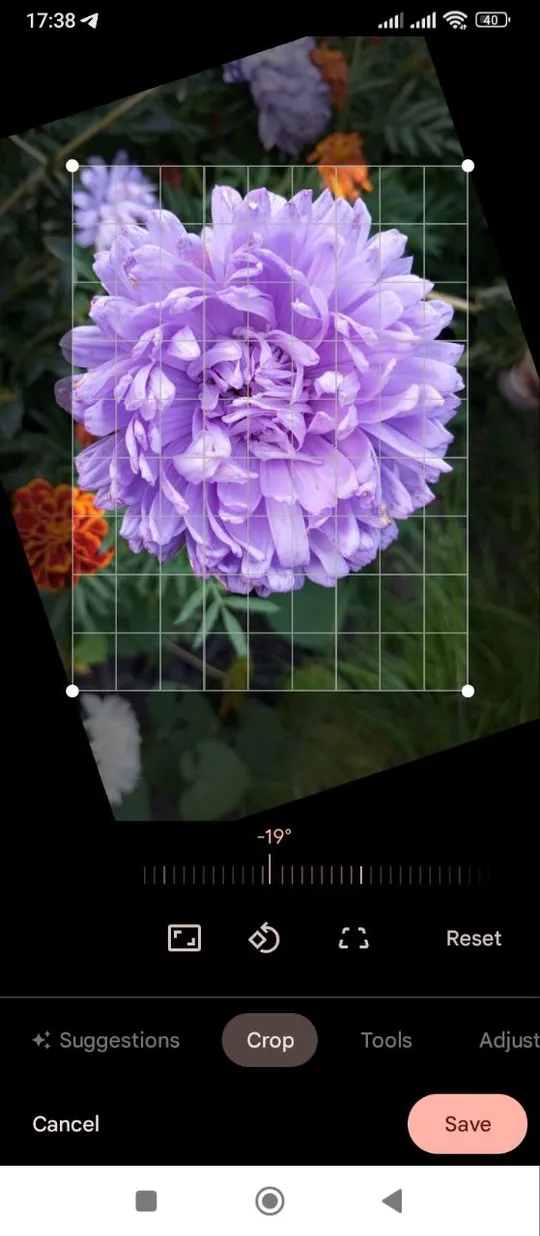
To start editing previously taken photos in the Android operating system, you need to open the Google Photos application, find the desired photo and open it. Now you need to click on the “Edit” button and find the “Crop” function.
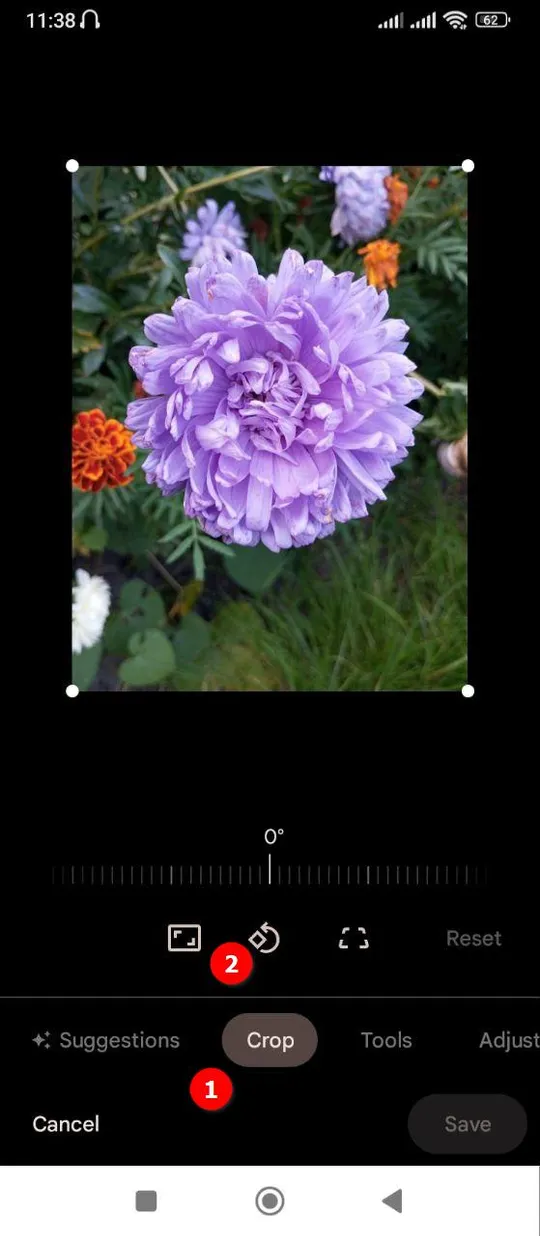
Here you can set a more precise angle of rotation of the photo, but that part of the image will be cropped. This is because the image is a matrix of pixels, and when rotated, those pixels that were previously on the edge of the photo are now inside. The program removes these pixels to maintain proportionality.
However, this method of rotating a photo not only resaves it again, losing quality, but also changes it relative to the original photo.
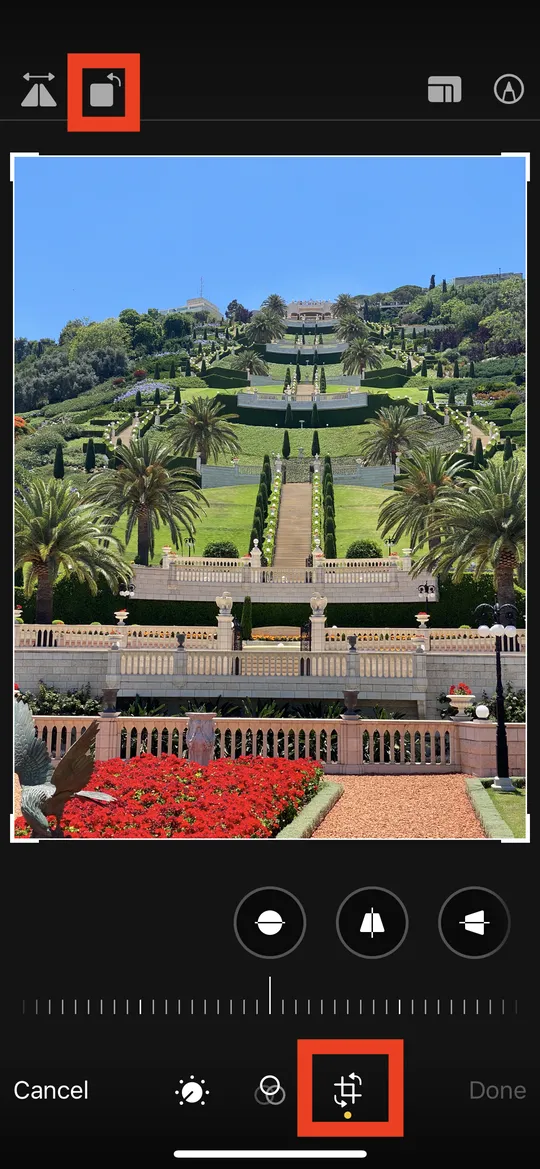
To do the same on iOS, open the Photos app and go into editing mode by tapping the Edit button.

As in Android, you can rotate the image to any angle, not just 90, by selecting the appropriate tool in the lower toolbar. Besides, it is possible to rotate at angles that are multiples of 90 degrees, thanks to an additional button on the top left. However, experience shows that this rotation is carried out pixel by pixel, because the file size decreases with each rotation.
How to rotate a photo online?
In addition to software tools for changing photo rotation, there are various online services. Their advantage is that you don’t need to install anything to process photos. It is enough to have any web browser (Google Chrome, Edge, Safari, Firefox, Opera, Yandex browser, etc.), and it does not matter what operating system is installed on your computer or phone. As an example, let's take the first site that comes up from Google search results - resizepixel.com. According to the developers, the service works with all popular raster image formats.

The site has a simple and intuitive interface. To change the rotation, use the slider to set the required degree, apply the change and click on the button to download the final image.
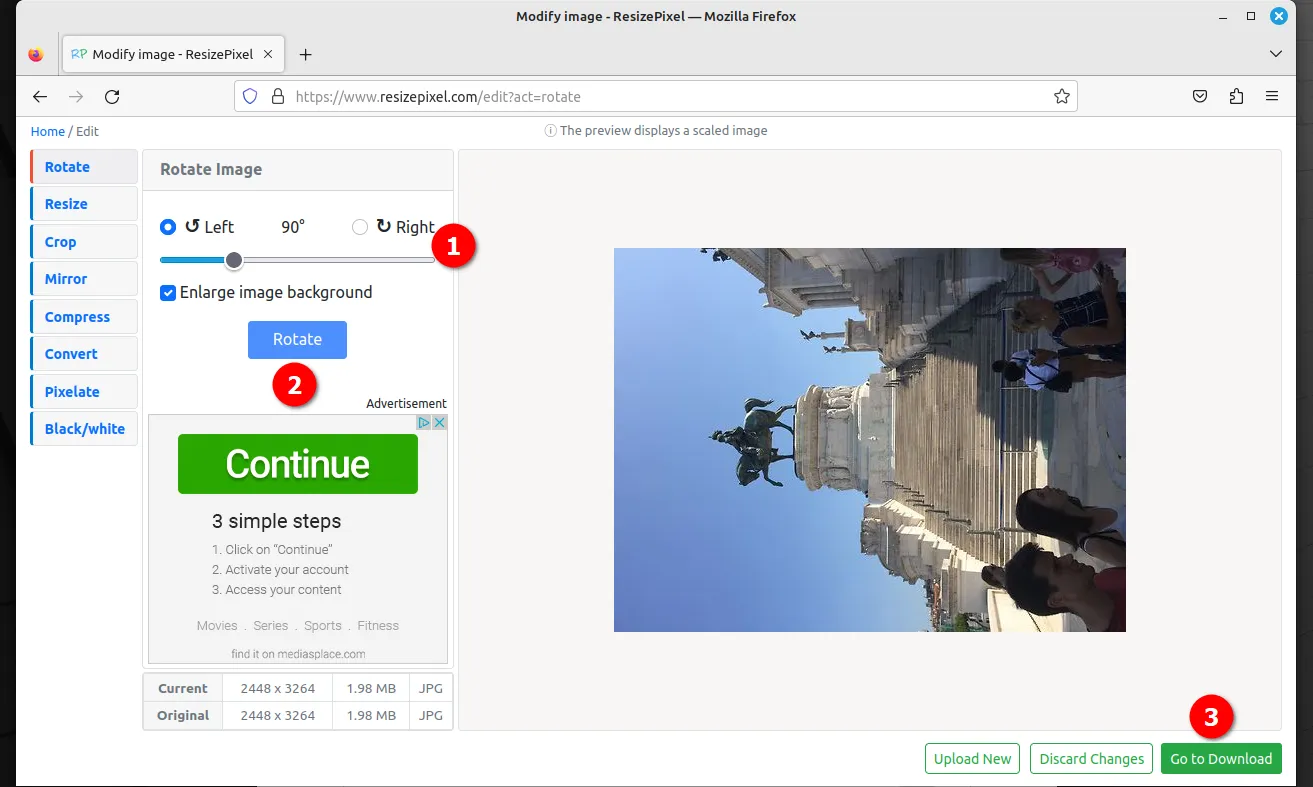
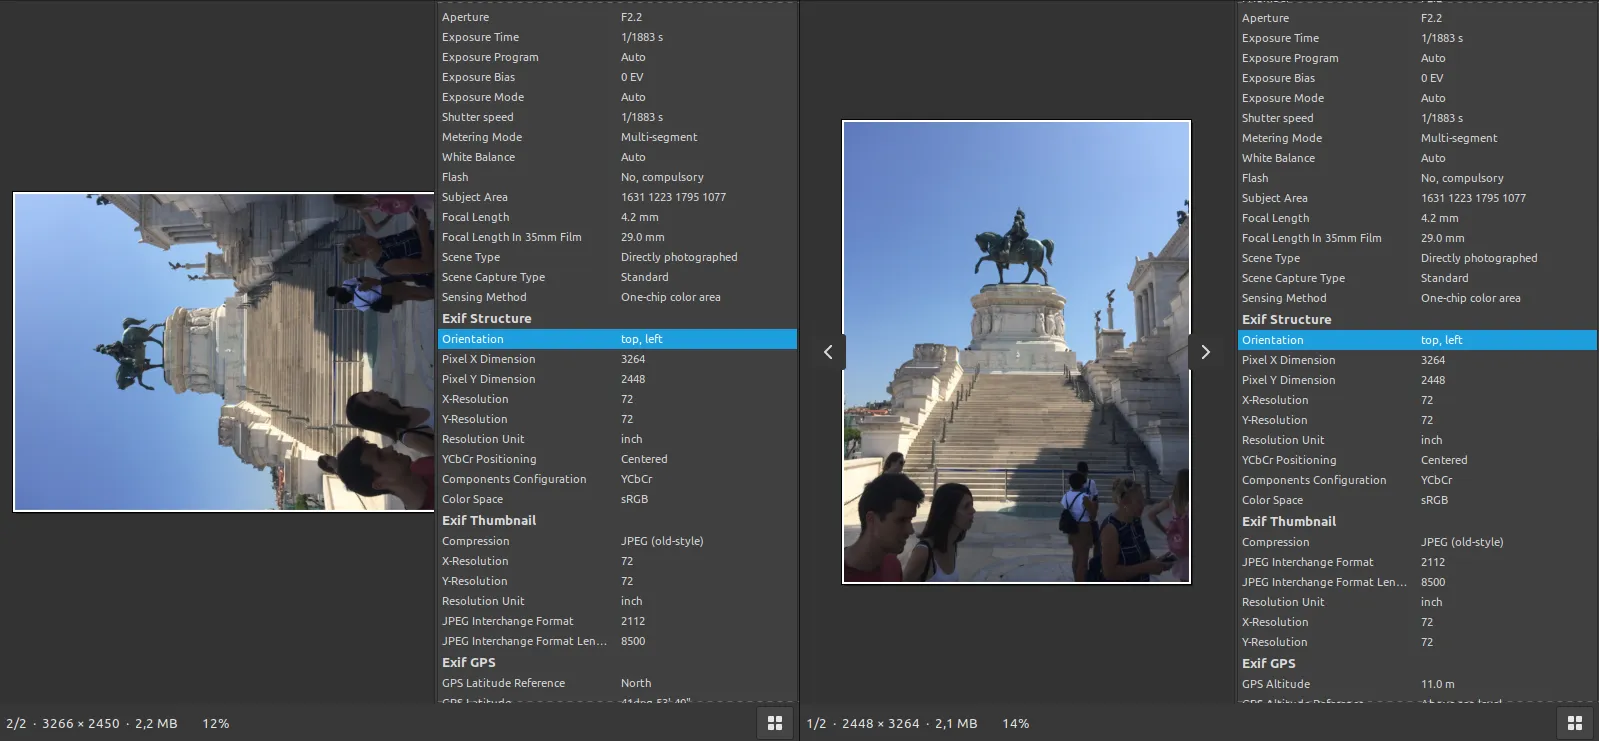
After comparing the result with the original photo, it becomes clear that resizepixel.com performs a pixel-by-pixel rotation. So, there was some quality loss here.
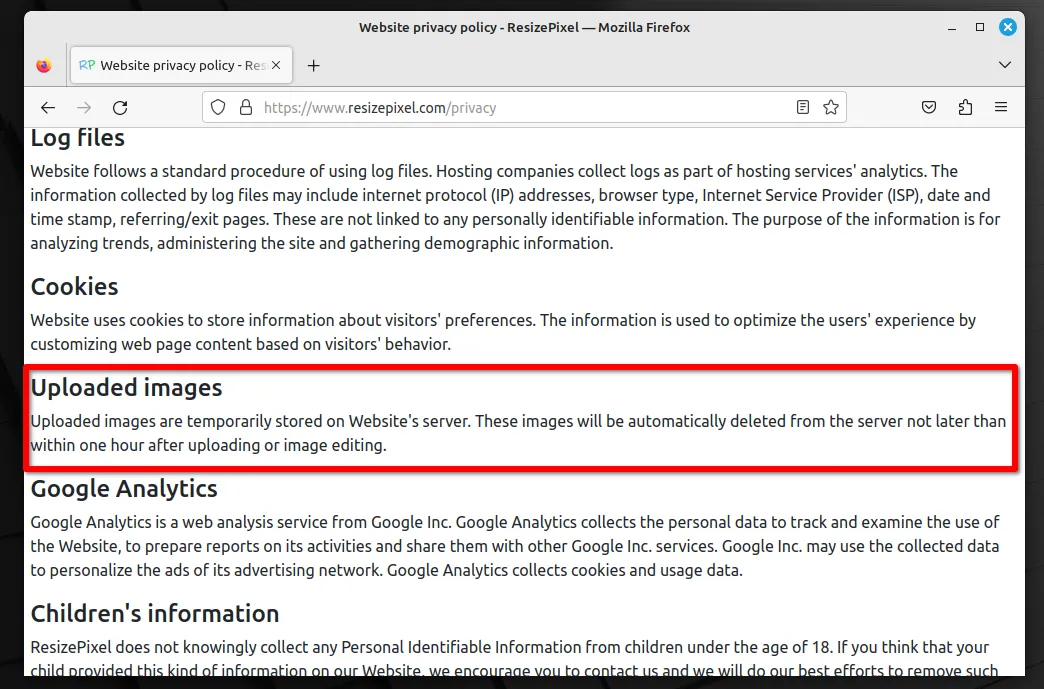
The main problem with such services is that you trust the photo to someone unknown. For example, the privacy policy of resizepixel.com states that the service automatically deletes all images uploaded by users, but it is impossible to verify whether this actually happens.
The company does not provide any other contact information other than an email address.

Summary
Changing the orientation of a digital photograph is only a seemingly simple task. You always have to choose between quality, speed, versatility and privacy.
For home use, we recommend installing the Tonfotos application for free. It will help you not only rotate a photo without losing quality, but also navigate your huge archive of photos accumulated over many years. You can read more about the program on the official website.