Best ways to store photos
Updated: March 18, 2025 Author: Vitaly
Are you afraid of losing photos and valuable memories associated with them? This guide is a detailed guide to the best ways to store your photos. Plus, you'll learn how to easily catalog large photo archives.
Photos taken on a mobile phone have become an integral part of our lives. The camera is always at hand, and instant access to pictures makes the shooting process intuitive and convenient. We capture important moments, share them on social networks and review images that bring back pleasant memories.
But what happens to these photographs next? Most users store them exclusively on their phone without thinking about the risks. And they are very real: accidental deletion, software failure, device failure, or even a simple loss of the phone can lead to the loss of valuable pictures. Cloud storage is often offered as a solution - this is a really convenient option, but it is also not ideal. Free space is limited, and you have to pay for additional space. Additionally, restoring access to the cloud if your phone is lost can be challenging.

Therefore, it is important to think through a photo storage strategy in advance. In this article, we will look at how to properly organize a photo archive, which drives are suitable for long-term storage, as well as in which cases cloud storage is still justified and how to use it as efficiently as possible.
Selecting and organizing photos
Regardless of whether your phone runs iOS or Android, all pictures taken on it are saved into a single folder (usually DCIM) without any cataloging or sorting.
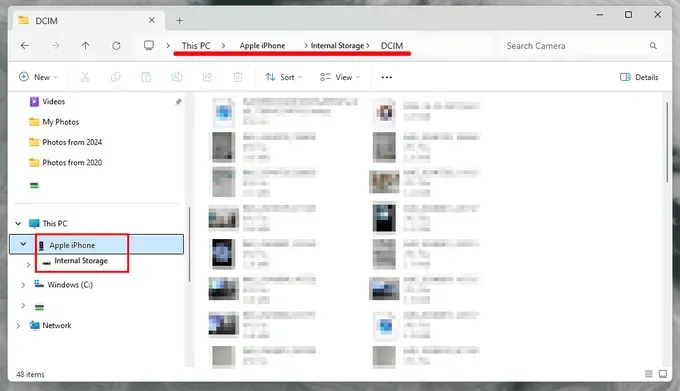
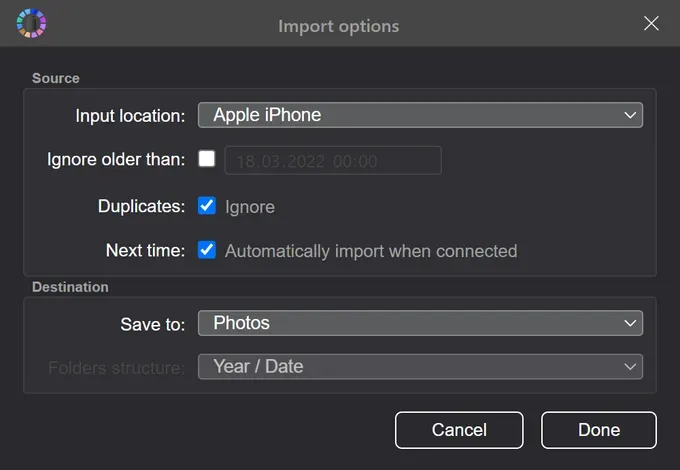
If you simply copy all the pictures, over time it will be difficult to find the right moment among the thousands of files collected in one directory. To avoid this, prior organization is required. The manual method of creating catalogs by shooting date and then sorting them takes a lot of time, but with Tonfotos this process takes just a few minutes. All you have to do is connect your phone to your computer, specify the folder (internal, external drive or NAS directory) where you want to move the photos, and select a cataloging scheme.
After import, all photos will be automatically distributed into catalogs in accordance with the specified scheme.
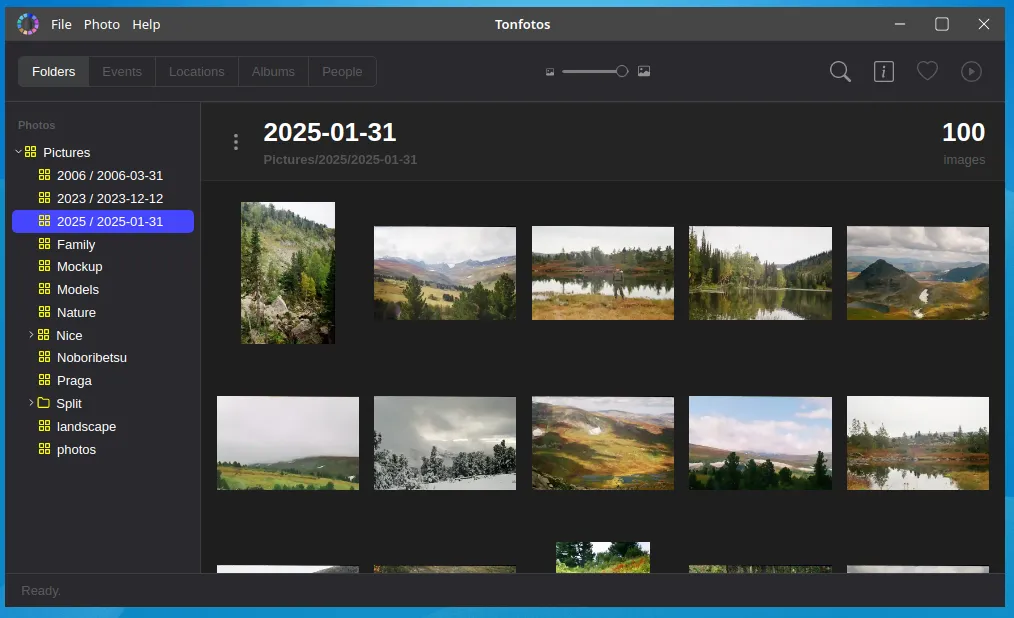
In addition to importing, the program has powerful tools for organizing photos. The user can quickly view pictures in chronological order, by geolocation, and delete unsuccessful ones. A duplicate search function is available, which also allows you to remove similar or bad pictures.
Separately, it is worth noting the presence of a built-in search and face recognition algorithm, on the basis of which you can create cards with information about people captured in photographs.

Tonfotos is an effective photo organization solution available for Windows, MacOS and Linux users. However, to use the program as a tool for importing pictures from Android or iOS phones, you do not need to pay anything. A paid license is only required if you need to create more than 12 person cards.
After putting your photos in order, you can start choosing where to store them. Please note that organizing a photo archive can be done both before and after copying to media, but Tonfotos allows you to create a ready-made hierarchy of folders directly during the import process, which greatly simplifies this process.
External storage as a way to securely store photos
Why an external drive, and not just copying or moving photos to the computer's memory? If you store pictures on a laptop or PC, they are at risk of being lost as a result of accidental deletion or encryption by viruses. In addition, the HDD/SSD drives installed inside have a limited resource, which is quickly depleted during daily use. There are often cases when the disk suddenly becomes unreadable, and with it all the stored photos.
In turn, an external drive is an isolated device that connects to the computer only when you need to copy photos from your phone or find the picture you need. Accordingly, it is less susceptible to accidental deletion and viruses, and its resource is practically not used. As a result, all your memories are reliably protected. All that remains is to choose the best external drive for storing photos.
Since copying and reading speeds are not that important when it comes to the safety of digital images, there is no significant difference between HDD and SSD. It is much more important to pay attention to the capacity, reliability and cost of the drive per 1 TB.
Everyone takes a different number of photos, so choosing the size of an external HDD/SSD drive is an individual process. However, based on global statistics, in the US alone, the average American takes 20 photos a day, or 7,300 photos a year. If we consider that in 2024 the most popular phones were iPhone and Samsung models with cameras of 50 megapixels or more, then storing the entire annual photo archive will require about 200 GB (15-30 MB per photo). But if you are not a passionate photography enthusiast, this value will be significantly less.
| Photographer category | Number of photos per year | Average Volume (JPEG) | Recommended storage size |
|---|---|---|---|
| Amateur | ~500 | ~5 GB | 500 GB – 1 TB |
| Advanced | ~5000 | ~50 GB | 2–4 TB |
| Professional | 20,000+ | ~200+ GB | 8 TB or more |
Now let's decide on the type of external drive.
- SSD. They do not have moving elements, therefore they are more resistant to mechanical stress. They have high writing and reading speeds. Compact, external SSD fits easily into your pocket. Solid state drives are sensitive to static electricity, have a limited read/write resource, and do not tolerate temperature changes well. *HDD. They use magnetic plates and read heads. They have more capacity at a lower cost compared to SSDs. Less sensitive to static electricity and temperature changes. However, HDDs are more susceptible to mechanical damage due to the presence of moving elements, have lower write and read speeds, and are larger in size and weight.
| Feature | SSD | HDD |
|---|---|---|
| Operation speed | High, up to 5000 MB/s (NVMe), faster loading and photo processing | Low, up to 250 MB/s, files are copied longer |
| Reliability | No mechanical parts, shock and vibration resistant | Has moving parts and is vulnerable to impacts |
| Wear | Limited number of write cycles (but lasts for years) | Lasts longer with frequent reading and writing |
| Volume | Expensive for large volumes, usually up to 8 TB | Cheap, there are models for 16–22 TB |
| Price for 1 TB | More expensive (≈ $50–100 per 1 TB) | Cheaper (≈ $20–40 per 1 TB) |
| Best Application | Scratch disk for photo editing, quick access | Archival storage, backups |
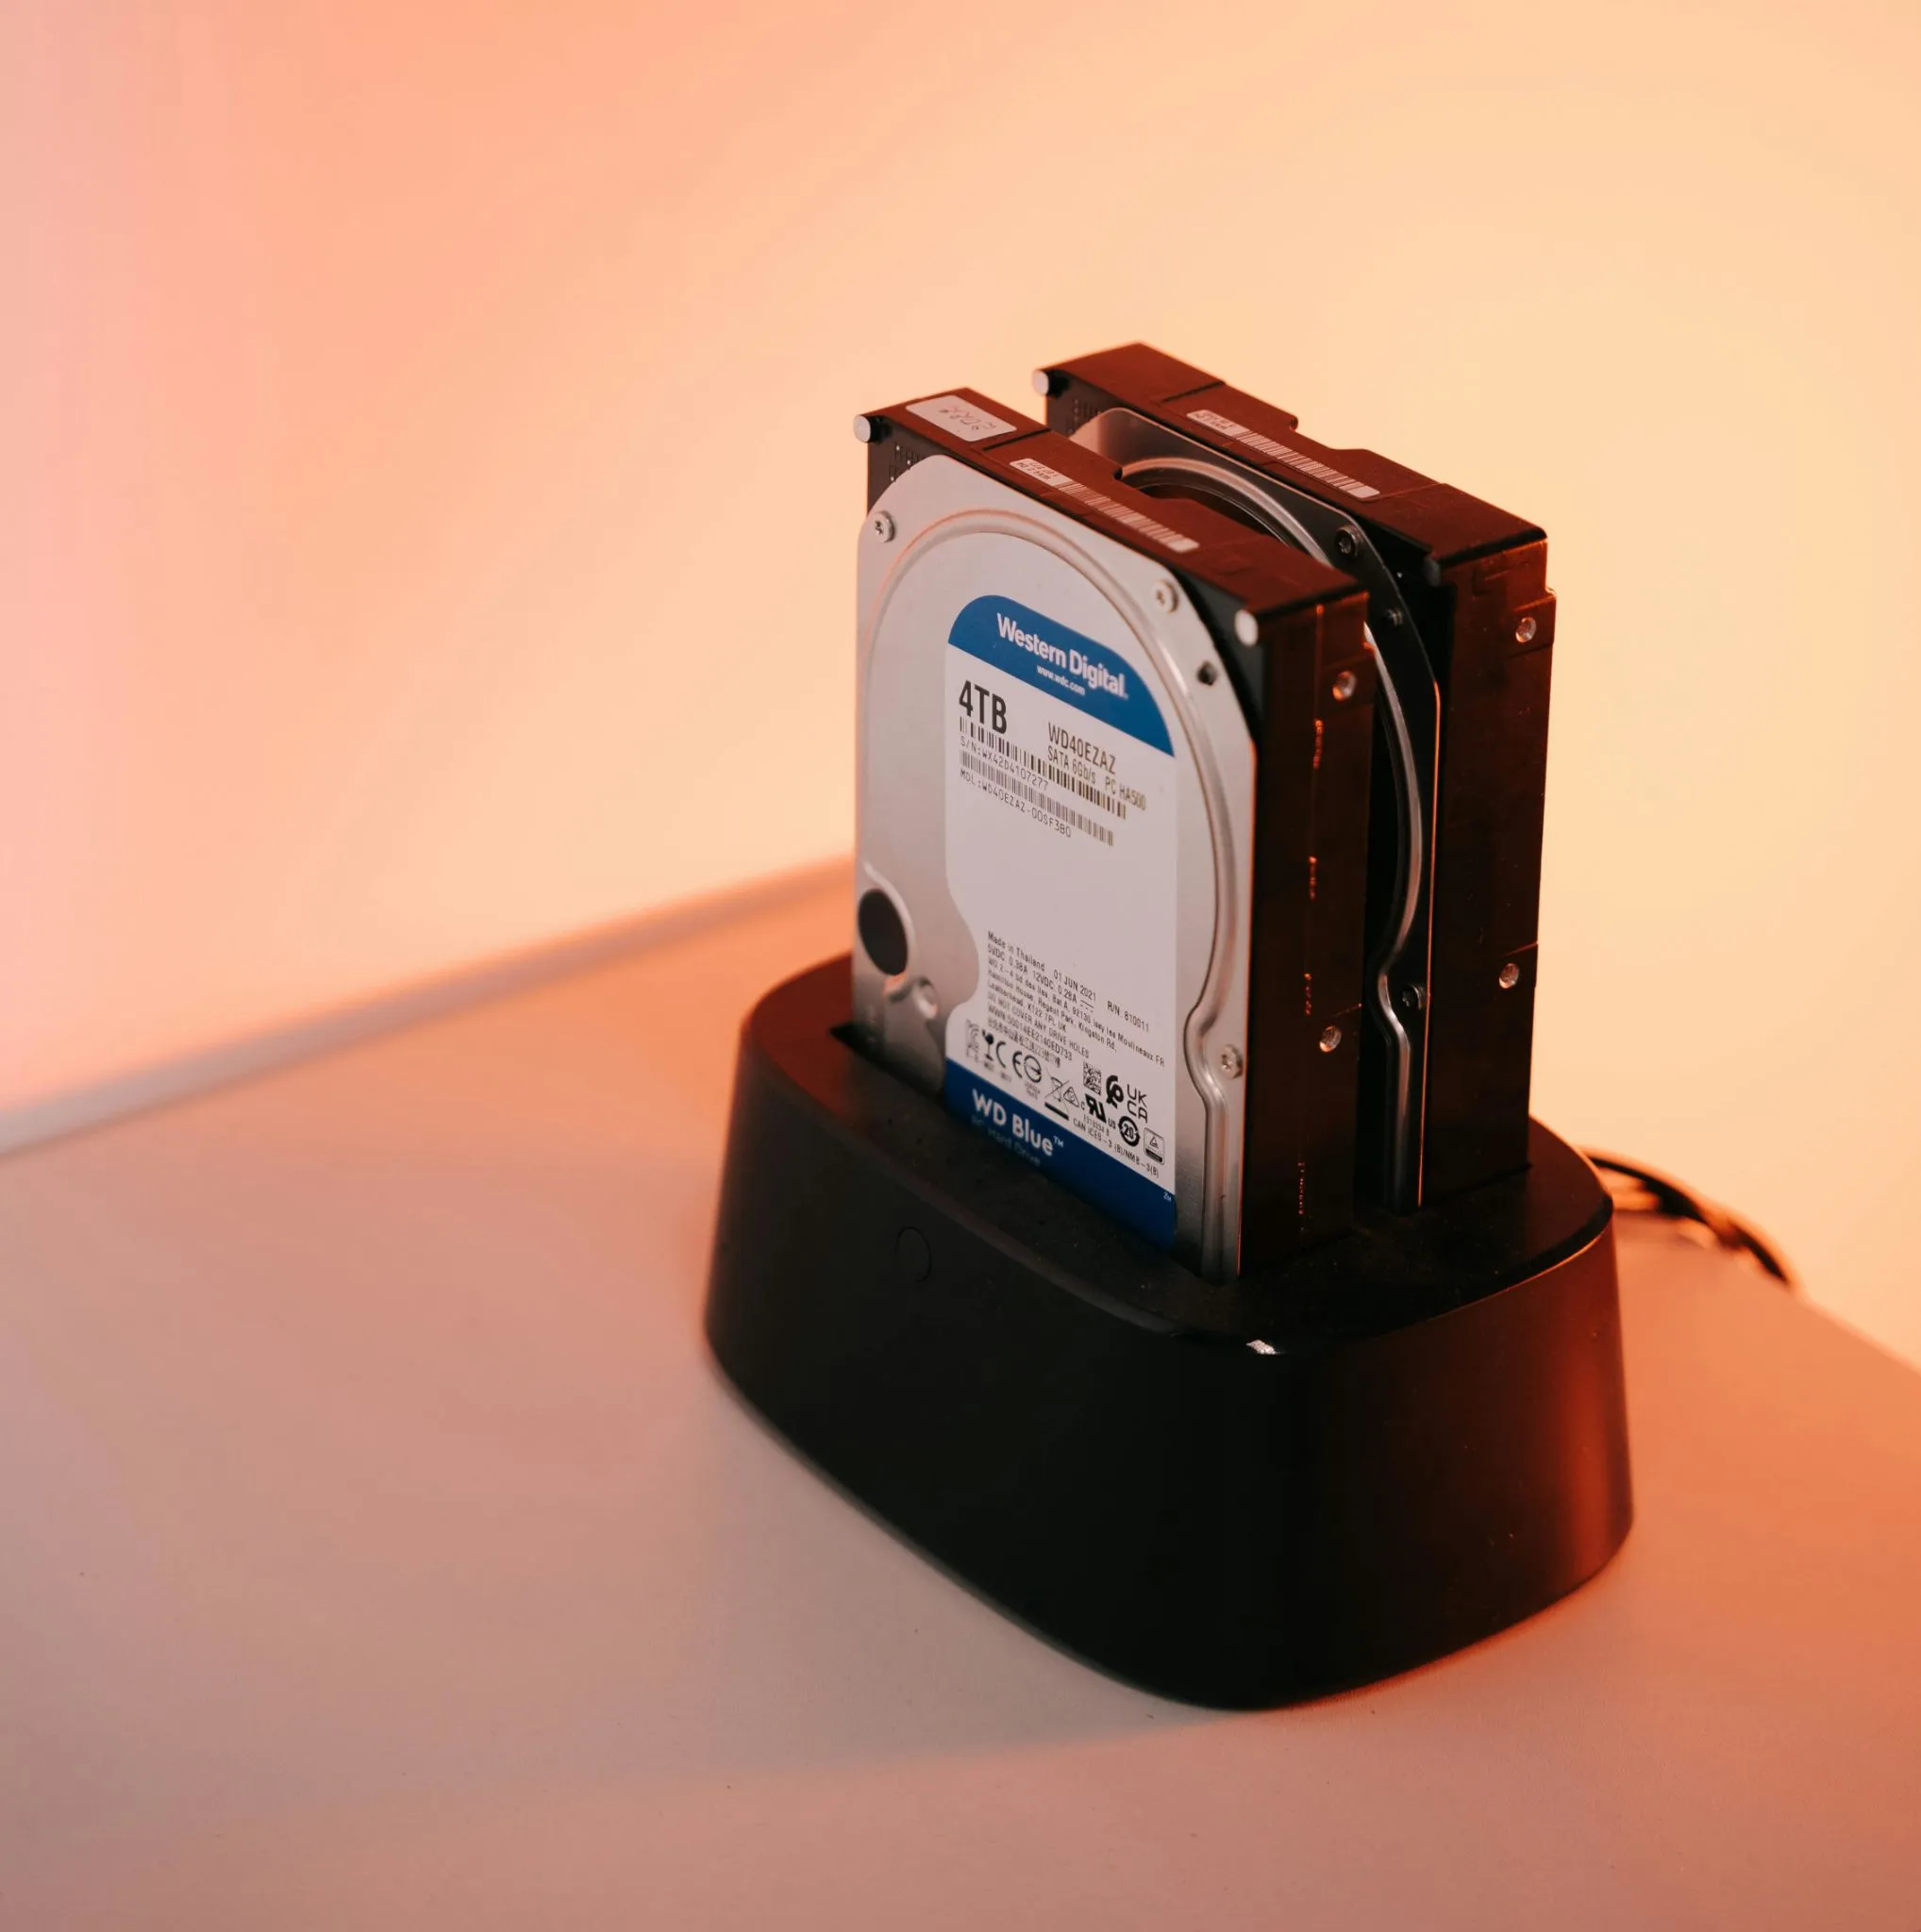
Despite all the benefits of SSDs, traditional hard drives (HDDs) remain the best way to store photos.
Organizing permanent access to a photo archive using NAS
Using an external drive with periodic connection to view or copy photos is a good solution if the photos are only a couple of hundred gigabytes and you do not need to process them. It's another matter when the size of the photo archive is measured in terabytes and frequent access is required for viewing or editing. In this case, the best solution for storing photos would be a NAS server.
A NAS is a special computer or separate device that connects to your network and allows you to store files, make backups and share data between different devices (computers, phones, tablets, etc.). It works like your personal cloud service: files are accessible from anywhere on the network (and sometimes over the Internet), but they are stored in your home, and not on third-party servers.
To use a home NAS server to store photos, you don’t have to be a system administrator; there are ready-made solutions with all the necessary software preinstalled. An excellent example is the solutions from Synology, which can be set up by any user with basic computer skills. You just need to follow the manufacturer's instructions.
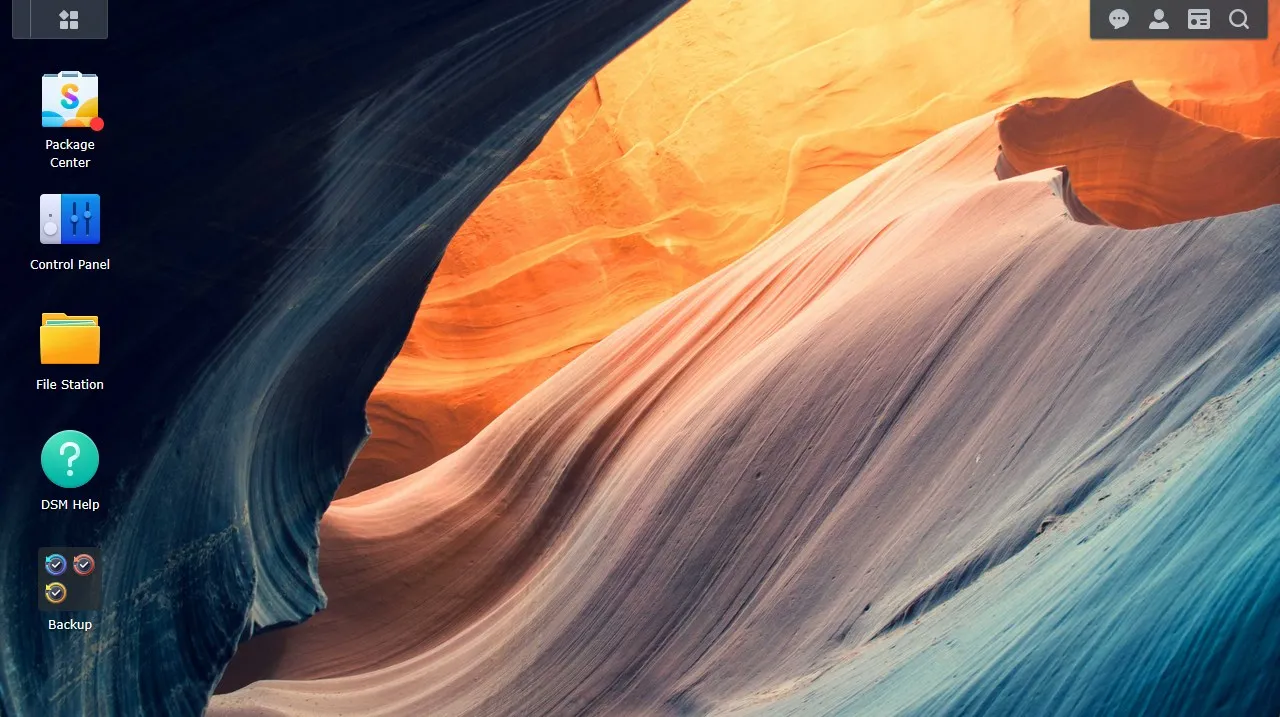
In addition, Synology software includes a separate photo cataloging application “Synology Photos” with the function of recognizing and identifying people's faces.
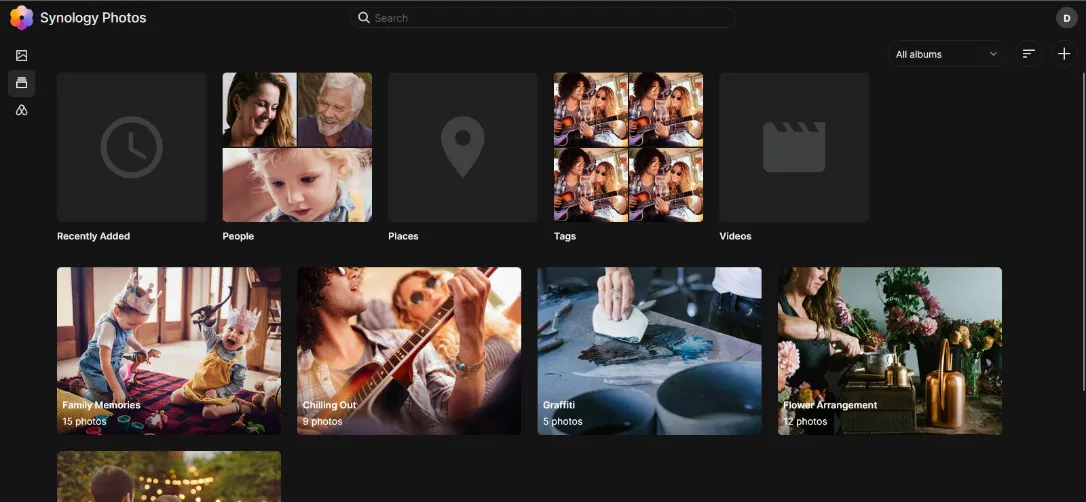
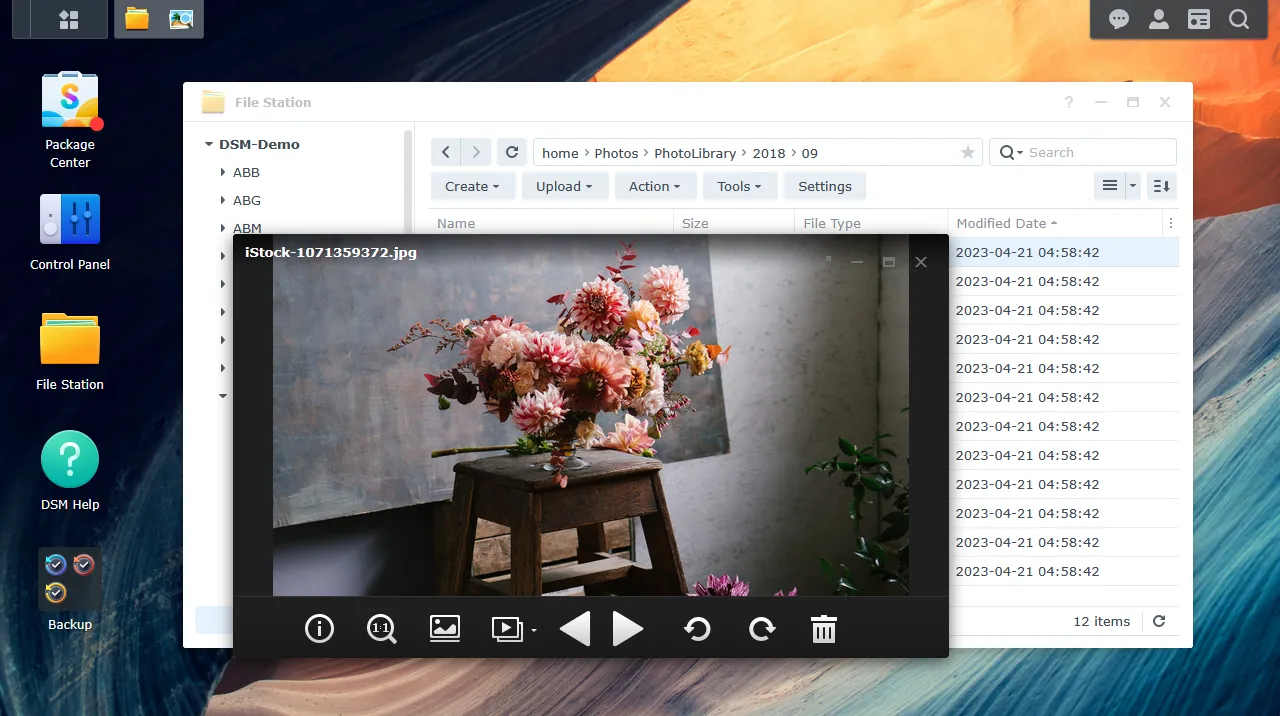
If you want to open a photo not in the application, but directly in the NAS server memory via your computer, you can easily find the photo you need. The program automatically sorts photos into folders according to the year and month they were taken.
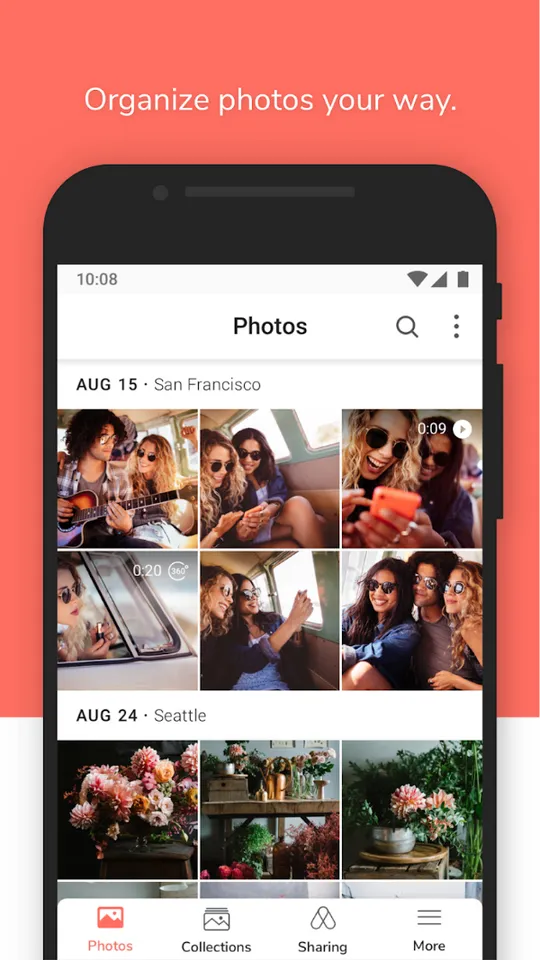
Please note that to upload photos from your phone to a NAS server, you can do without cables by installing a special mobile application that will automatically import, similar to Google Photos.
Purchasing NAS and disks (HDD or SSD) requires certain investments. As a budget alternative, you can use a docking station that connects to your computer via USB and works like an external drive. Depending on the model, the device may have one or more places for connecting a storage device. Some are even multi-format, supporting not only SATA HDD/SSD, but also M.2 form factor.
Choosing between a NAS and a docking station depends on your needs and budget. The docking station is suitable if you have a small photo archive and want to save money. It provides easy access to files, but does not offer the advanced features of a NAS.
NAS, on the other hand, is a more versatile solution. It is ideal for large photo archives, providing centralized storage and access to files from different devices. The NAS also offers additional features such as automatic backup, media streaming, and remote access. However, NAS is a more expensive option and may require some technical knowledge to set up.
Overall, if you need a simple, inexpensive solution for storing a small number of photos, a docking station is a good choice. If you have a large photo archive and need advanced features and centralized storage, then a NAS is the best option.
Cloud storage as a photo backup tool
Cloud services are often seen as a convenient way to store photos, but relying on them as your only archiving location is not a good idea. The limited amount of free space, the need for a subscription to expand storage, the risk of losing access to your account - all this makes the cloud more of an auxiliary solution than a reliable method of long-term storage. Therefore, it is better to use them for backup or temporary storage before transferring to physical media.
The most practical option is to use pre-installed cloud services. For Android device owners, it's easiest to trust Google Photos, and for iPhone users, it's easiest to trust iCloud Photos. These applications are integrated into the ecosystem, run in the background and do not require additional settings. In addition, access to the storage is linked to the main account, which reduces the risk of data loss when changing devices.
If you work with photos on your computer, it makes more sense to choose the cloud built into your operating system. For Windows it is OneDrive, for macOS it is iCloud Drive. Linux users will benefit from MEGA Cloud, which offers a full-fledged synchronization client and 20 GB of free space.
No matter how convenient the cloud may seem, it is not a replacement for local storage. The best solution is a combined approach: cloud backups and reliable physical storage for long-term storage.
The best way to store paper photos
Even under ideal storage conditions, paper photographs degrade over time. Especially quickly (5–10 years) if the picture is printed with laser or inkjet printing. Therefore, the only way to preserve paper photographs is to digitize them and then copy them to an external physical drive.
To obtain digital copies of photographs, you do not need to buy a professional scanner or a special lens for your camera. A phone with a photo digitizing program, such as PhotoScan from Google, is suitable for this.
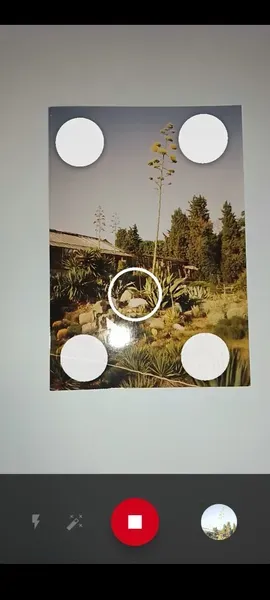
The advantage of such applications is that they have a built-in algorithm for image correction and glare removal, which makes a digital copy of a paper photograph as close as possible to the original.
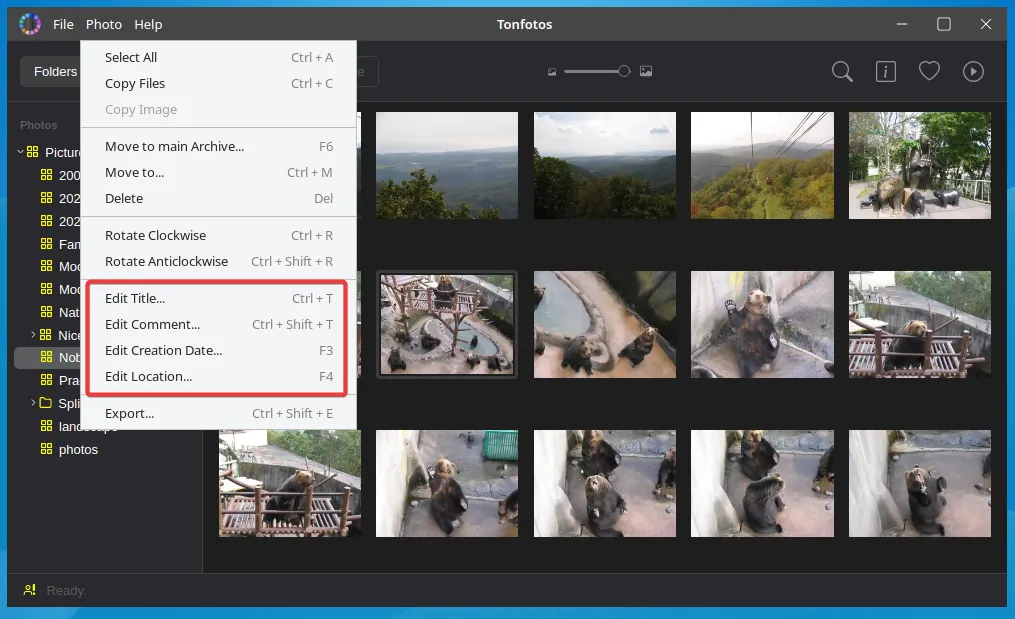
The main problem in the process of digitizing old photographs is the difficulty of cataloging them, because all files have a date at the time of scanning or shooting with a phone camera. The best way to fix this is to use the power of Tonfotos. The program allows you to perform single or group changes to the date of creation of a photo, edit the title and comment, and geolocation tag. With the latest features, you can add details to a photo, such as indicating the event or circumstances.
Conclusion
Preserving photographs is an important task that requires a comprehensive approach. The choice of storage method depends on the size of your photo archive, the frequency of access to images and your budget. For small archives, an external hard drive is suitable; for large ones, a NAS server is suitable. Cloud storage is best used for backup. Don't forget to digitize your paper photos to preserve them for years to come.